Have you ever wondered how to get that flawless eyelash look without any mess? Clear lash glue could be the game-changer you need. Whether you’re a makeup novice or an experienced beauty enthusiast, using clear lash glue can elevate your lash game with ease and precision. In this guide, we’ll walk you through everything you need to know about clear lash glue, so you can enjoy fabulous lashes without any fuss.

What is Clear Lash Glue?
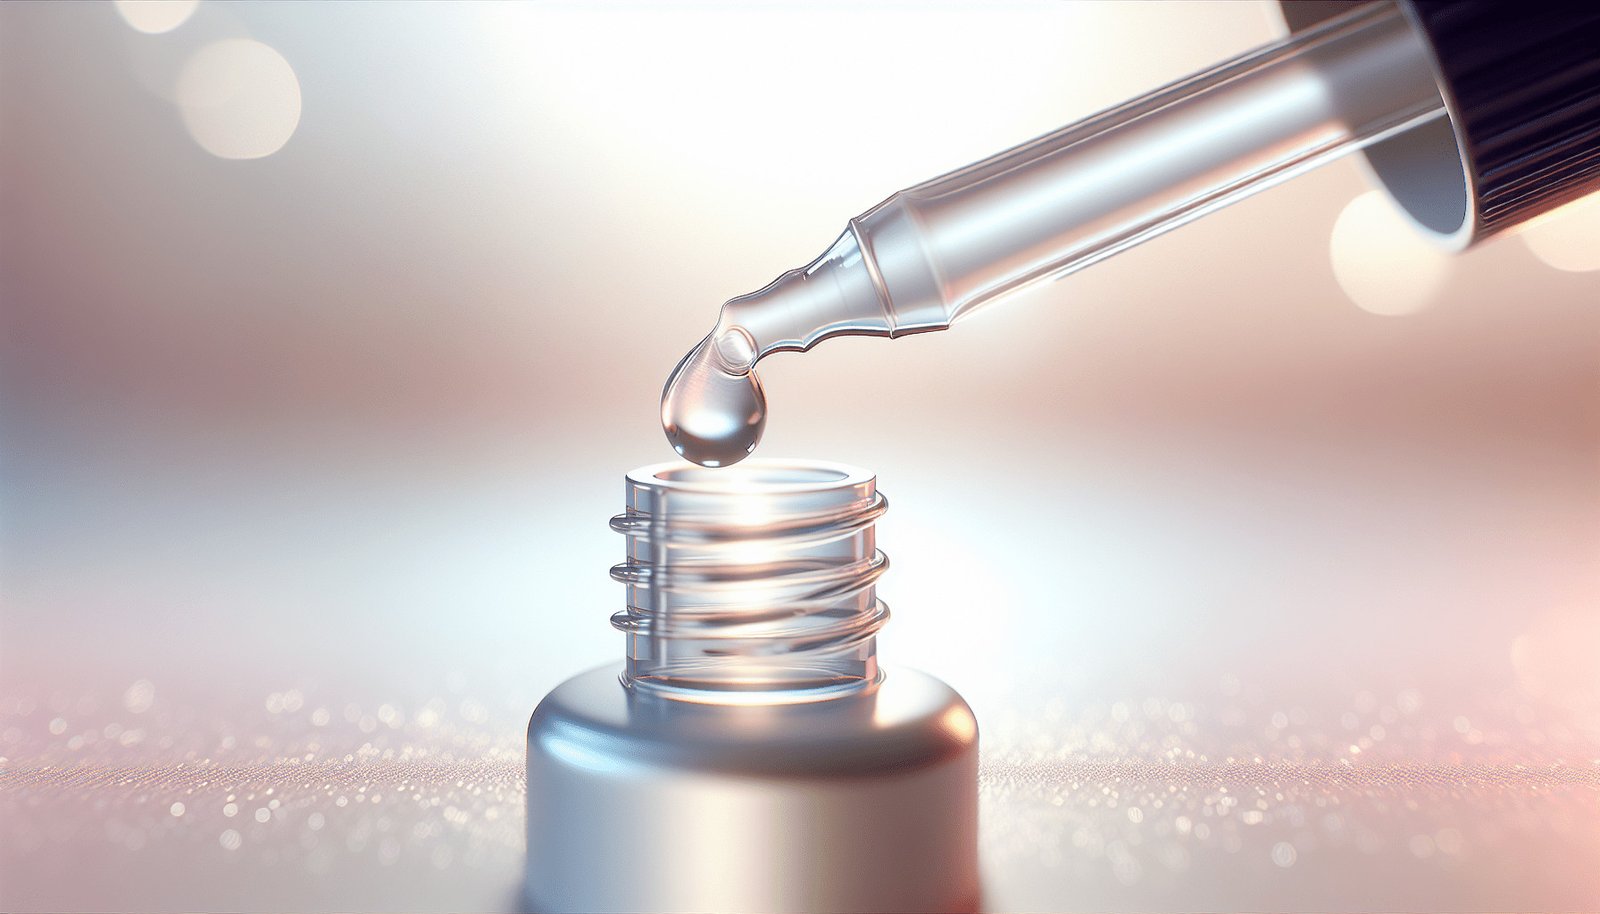
Clear lash glue is a transparent adhesive used to attach false eyelashes to your eyelids. Unlike some other types of lash adhesives, clear lash glue dries invisibly, making it an ideal choice for those who desire a natural look or for eye makeup styles without visible adhesive lines. It’s flexible, easy to apply, and widely favored by makeup artists for its subtle finish.
Why Choose Clear Lash Glue?
The choice of lash glue can significantly affect the outcome of your eyelash application. Using clear lash glue offers multiple benefits:
- Invisible Finish: Once it dries, it leaves no visible residue, ensuring that your eyeliner or eyeshadow style remains unobstructed.
- Error-Friendly: Perfect for beginners, as any small mistakes are less noticeable.
- Versatility: Suitable for all lash types and skin tones.
- Water-Resistant: Offers some level of resistance to moisture, making it ideal for long-wear.
Understanding the advantages of clear lash glue can help you make a more informed decision when selecting the right adhesive for your lashes.
Preparing for Lash Application
Before diving into the application process, it’s crucial to have the right supplies and prepare your natural lashes. Here’s a checklist to guide you:
Essential Supplies
To ensure a smooth application process, gather these supplies:
| Item | Purpose |
|---|---|
| False Eyelashes | The type of lashes you plan to apply |
| Clear Lash Glue | The adhesive for attaching the lashes |
| Tweezers or Applicator | For precise placement of the lashes |
| Scissors | To trim the lashes to fit your eye size |
| Eyelash Curler | Curl your natural lashes for better integration |
| Eye Makeup Remover | Cleanup in case of any mistakes |
Preparing Your Natural Lashes
- Cleanse Your Eyes: Remove any existing makeup or oils from your eyelids. This step is crucial since oils can affect how well the glue adheres.
- Curl Your Natural Lashes: Use an eyelash curler to curl your natural lashes. This step helps the false lashes blend seamlessly with your real ones.
- Measure and Trim: Fit the false eyelashes by measuring them against your eye and trimming as needed. Always trim from the outer corner for a more natural look.
Getting your natural lashes ready will not only make the process smoother but also enhance the overall effect.

Application Process
Proper application of clear lash glue can make all the difference between lashes that hold up all day and those that start to lift after a few hours. Here’s how you can achieve a flawless lash look:
Step-by-Step Application
Apply Glue to the Lash Band:
- Squeeze a small amount of clear lash glue onto the back of your hand.
- Use a toothpick or a similar tool to apply a thin line of glue along the lash band.
- Allow it to set for about 30 seconds until it’s tacky.
Position the Lashes:
- Hold the lash with tweezers or an applicator.
- Carefully position the lash as close to your natural lash line as possible.
- Start by placing it in the middle and then secure the outer and inner corners.
Secure and Adjust:
- Press the lash down gently along the lash line to secure it.
- Use the tweezers to press your natural lashes and the false ones together.
Finishing Touches:
- Let the glue dry completely.
- Apply your eyeliner to hide the lash band for a cohesive look.
- Gently pinch along the lash line to ensure they’re well-integrated.
These steps will simplify the process, making your lashes look natural and long-lasting.
Common Mistakes to Avoid
Even seasoned beauty pros encounter hiccups. Here are some common pitfalls and how to avoid them:
- Too Much Glue: Applying too much glue can make the lashes slip and take longer to dry. Always apply a thin, even layer.
- Not Waiting for Tacky Stage: If the glue isn’t slightly tacky, the lashes won’t adhere properly. Patience is key here.
- Ignoring Proper Cleanliness: Unclean lids can compromise the adhesive’s effectiveness. Always start with clean lids and lashes.
Knowing these pitfalls can help you troubleshoot and ensure effective application every time.

Aftercare and Maintenance
Caring for your applied lashes and the lash glue you use ensures a lasting effect and healthy natural lashes. Proper maintenance can help you make the most out of your false eyelashes and adhesive.
How to Clean & Store False Lashes
Remove with Care:
- Gently peel off the false lashes, starting from the outer edge.
- Avoid pulling them directly from the center to prevent damage.
Remove Excess Glue:
- Once removed, use tweezers to gently pull off any remaining glue from the lash band.
Clean and Store:
- Use a cotton swab dipped in makeup remover to clean the lashes gently.
- Allow them to dry, and then store them in their original case to retain their shape.
Extending Use for Clear Lash Glue
If you’d like your lash glue to last longer, consider these tips:
- Keep It Sealed: Ensure the cap is tightly closed after each use to prevent the glue from drying out.
- Store at Room Temperature: Avoid exposing the glue to extreme temperatures, as this can affect its efficacy.
- Avoid Contamination: Keep the nozzle clean and avoid touching it directly with your fingers.
Maintaining your lashes and glue not only ensures a flawless look but also saves money in the long run by extending their usability.

Troubleshooting Tips
Sometimes, even with the best preparations, things might not work out as planned. Here are some quick fixes for common issues with clear lash glue:
Lash Lift-Off
If you find the lash band lifting from your eyelids:
- Reapply Glue: Dab a tiny bit of glue to the lifting area with a toothpick, wait for it to become tacky, and press it again.
Irritation or Discomfort
For any discomfort or irritation:
- Check Fit: Ensure the lashes are not too big. Trim the excess if needed.
- Ensure Proper Application: Verify that you applied glue only to the lash band and didn’t touch your skin.
Uneven Ends
Should the ends not adhere properly:
- Press and Hold: Use your finger or tweezers to hold down the ends until the glue sets.
Understanding how to troubleshoot common issues can save your look and ensure you remain confident throughout your day.

Conclusion
Clear lash glue is an excellent choice for anyone wanting a clean, natural look without visible adhesive lines. By selecting the right products, prepping adequately, and employing precise application techniques, you can achieve beautiful, long-lasting eyelash results. Remember to take your time, follow the steps carefully, and avoid common mistakes for the best outcome. As you practice and gain more confidence, applying lashes will become second nature, and you’ll be ready to flaunt those stunning eyes anytime.
So, armed with these tips, are you ready to enhance your beauty routine with clear lash glue? The next time you’re applying lashes, remember these insights, and watch your confidence (and your lashes) soar!

