Have you ever wondered how to achieve flawless lashes for a photoshoot?
False eyelashes can be your best friend when it comes to getting that perfect, eye-catching look. Proper application can make a significant difference in how your photos turn out, bringing attention to your eyes and making them pop. However, if you’ve never applied false eyelashes before, the process can seem a bit daunting. Worry not! This guide will walk you through each step to ensure you apply your falsies like a pro.
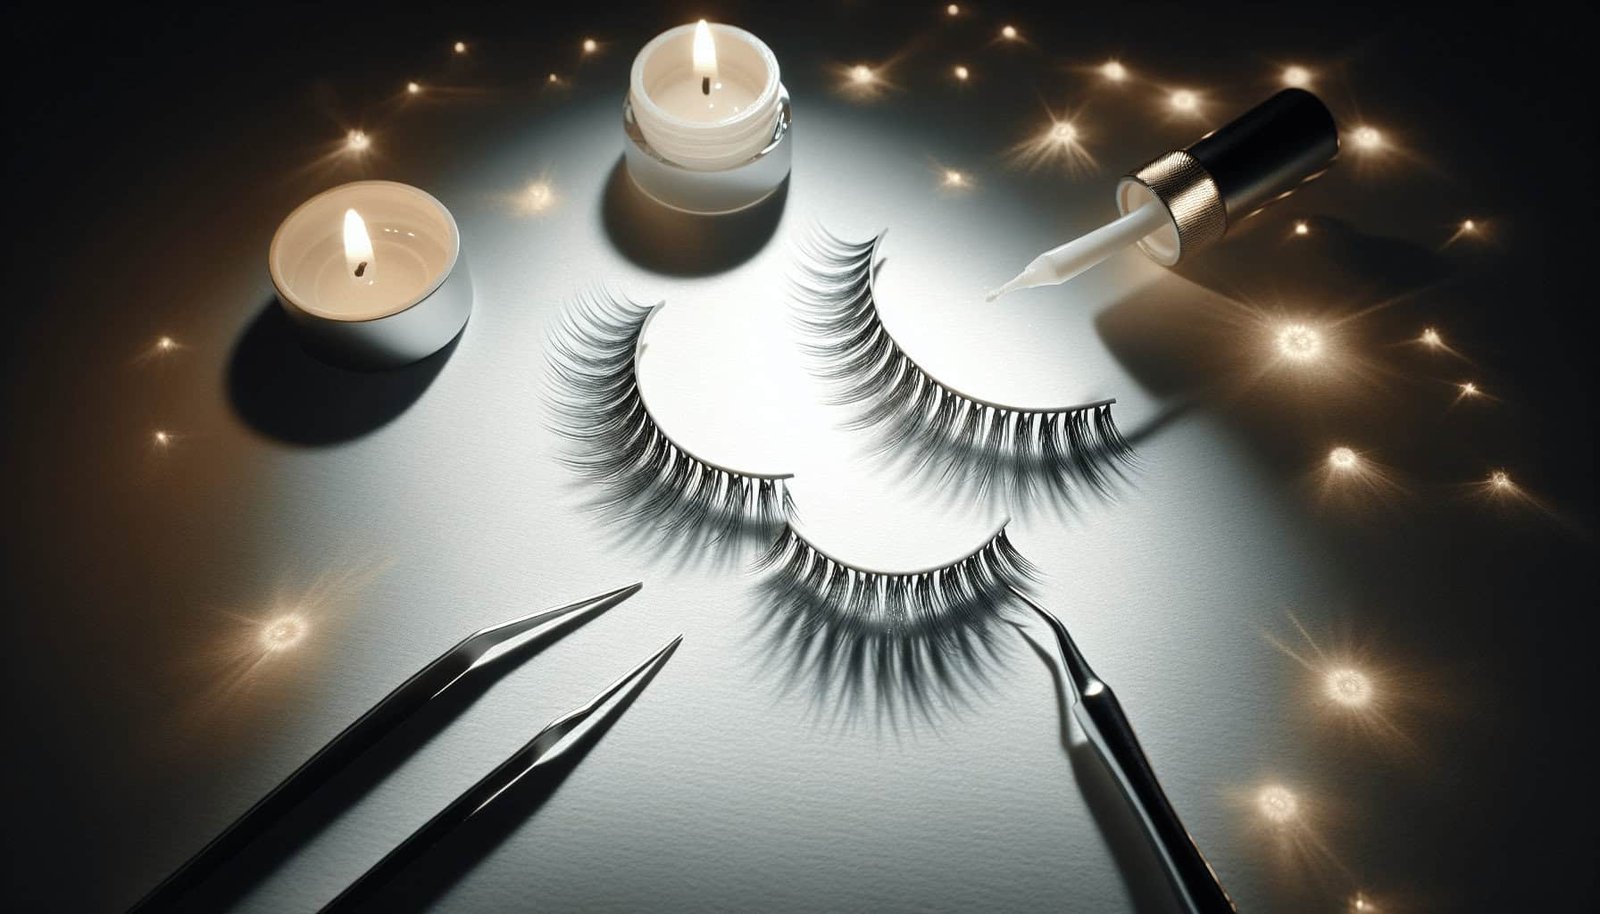
Understanding False Eyelashes
Before you begin, it’s essential to understand the different types of false eyelashes available. Knowing your options will help you select the right pair to complement your eyes and style.
Types of False Eyelashes
There are several types of false eyelashes, each designed for different looks and purposes.
| Type | Description | Best Used For |
|---|---|---|
| Strip Lashes | A full strip of lashes that cover your entire lash line | Dramatic and bold looks |
| Individual Lashes | Single lashes applied one at a time | Natural and customizable looks |
| Cluster Lashes | Small groups of lashes applied together | A mix of natural and voluminous |
| Magnetic Lashes | Lashes that adhere with magnetic eyeliner or bands | Easy application and removal |
Understanding these types helps you choose the best option for your photoshoot.
Lash Material
False eyelashes come in different materials, and knowing the material can further help you make the right choice.
| Material | Description | Pros | Cons |
|---|---|---|---|
| Synthetic | Made from synthetic materials like plastic | Budget-friendly, many styles available | Can look less natural, stiffer texture |
| Human Hair | Made from real human hair | Natural look, soft texture | Can be more expensive |
| Mink | Sourced from mink fur, luxurious and natural-looking | Very soft, natural look, lightweight | Expensive, ethical concerns |
| Silk | Made from synthetic silk fibers | Flexible, comfortable | Less natural than mink or human hair |
Choosing the right material can affect both the application process and the final look of your photos.
Prepping Your Natural Lashes
Before you even touch those falsies, it’s crucial to prepare your natural lashes. Proper preparation ensures a better fit and longer-lasting wear.
Step 1: Clean Your Natural Lashes
Start by thoroughly cleaning your natural lashes. Remove any makeup, oil, or debris using a gentle makeup remover. Your natural lashes need to be free from any substances that might interfere with the false lash adhesive.
Step 2: Curl Your Lashes
Using an eyelash curler, gently curl your natural lashes. This step helps blend your false lashes with your natural ones, creating a more cohesive look.
Step 3: Apply Mascara
Apply a coat of your favorite mascara to your natural lashes. This step not only enhances your natural lashes but also provides a stronger base for the false lashes to adhere to.

Preparing the False Eyelashes
Now that your natural lashes are ready, it’s time to prep the false lashes for application.
Step 1: Remove Lashes from the Package
Carefully take the lashes out of their packaging using tweezers or your fingers. Be gentle to avoid bending or damaging the lashes.
Step 2: Measure and Trim
Align the false lash strip with your natural lash line to measure how much needs to be trimmed. False lashes typically come longer than necessary, so trimming is essential for a custom fit. Cut off any excess from the outer end of the lash strip for a natural blend.
Step 3: Flex the Lash Band
Gently bend the lash band into a U-shape. This step helps make the false lashes more flexible and easier to apply, ensuring they adhere well to the curvature of your eye.
Step 4: Apply Lash Adhesive
Apply a thin layer of lash adhesive along the band of the false lashes. Let the adhesive sit for about 30 seconds to become tacky. This ensures a stronger initial bond when you place them on your lashes.
Applying the False Eyelashes
Once everything is prepped, it’s time for the main event: applying the false eyelashes. Follow these steps for a flawless look.
Step 1: Position the Lashes
Using tweezers or your fingers, carefully position the lash strip right above your natural lash line. Start by aligning the center first, then adhere the outer and inner corners. If needed, use the tip of the tweezers or a lash applicator tool to press the lashes into place.
Step 2: Secure the Lashes
Once the lashes are positioned correctly, use your fingers or a lash applicator tool to gently press the false lashes into your natural lash line. This helps merge the falsies with your natural lashes, ensuring they stay put.
Step 3: Final Touches
Allow the adhesive to dry completely. You can use a bit of eyeliner to cover any gaps between the false lashes and your natural lash line. Reapply a light coat of mascara if needed to blend the lashes seamlessly.

Enhancing the Look for a Photoshoot
Now that your false lashes are applied, it’s time to enhance the overall look for your photoshoot. Proper makeup and maintenance can make a huge difference in how the lashes look on camera.
Eye Makeup Tips
When preparing for a photoshoot, your eye makeup should complement your false lashes without overpowering them.
Use Complementary Eyeshadow
Choose eyeshadow hues that complement your eye color and the style of your false lashes. For example, natural brown tones work well with natural styles, while bold colors can emphasize dramatic lashes.
Define Your Eyeliner
A well-defined eyeliner can enhance the lash line, making your false lashes look even more striking. Use a liquid or gel eyeliner to draw a precise line along your lash line.
Eyebrows
Don’t forget about your eyebrows! Well-groomed and filled-in eyebrows can frame your eyes beautifully, enhancing the overall appearance in photos. Use an eyebrow pencil or powder to shape and fill in any sparse areas.
Highlight Your Inner Corners
A touch of highlight in the inner corners of your eyes can make them appear larger and more awake. This simple trick enhances your overall eye makeup and makes your eyes pop in photos.
Removing False Eyelashes
After your photoshoot, you’ll want to remove your false eyelashes carefully to avoid damaging your natural lashes.
Step 1: Loosen the Adhesive
Soak a cotton pad in a gentle eye makeup remover or oil-based cleanser and press it against your lash line for a few seconds. This helps loosen the adhesive.
Step 2: Gently Peel Off
Starting from the outer corner, gently peel off the false lashes. Do this slowly and carefully to avoid pulling out any of your natural lashes.
Step 3: Clean and Store
Clean your false lashes by removing any remaining adhesive with tweezers. Store them in their original packaging to maintain their shape for future use.

Troubleshooting Common Issues
Even with the best preparation, issues can arise. Here’s how to troubleshoot some common false eyelash problems.
Lashes Won’t Stick
If your false lashes aren’t sticking, the adhesive might not be tacky enough. Let it sit for a few more seconds before applying. Ensure your lash line is clean and oil-free for better adhesion.
Uneven Application
If your lashes look uneven, reposition them while the adhesive is still tacky. Use a mirror to check for symmetry, and adjust as necessary.
Discomfort
If you feel discomfort or irritation, you may need to trim the lashes further or reposition them. Remove and reapply the lashes if needed, prioritizing comfort.
Lashes Look Unnatural
If your false lashes look unnatural, ensure they’re properly trimmed and blended with your natural lashes. Using good-quality, natural-looking lashes can also make a big difference.
Frequently Asked Questions
To wrap up, let’s address some common questions about applying false eyelashes.
How Long Can I Wear False Eyelashes?
For a photoshoot, it’s typically safe to wear false eyelashes for a day, but avoid sleeping in them. Long-term use should involve careful application and removal to protect your natural lashes.
Can I Reuse False Eyelashes?
Yes, you can reuse false eyelashes if you clean them properly after each use. High-quality lashes can be reused more times than cheaper ones.
What Type of Adhesive Should I Use?
Choose a high-quality eyelash adhesive designed for your lash type. Latex-based adhesives are common, but latex-free options are available for those with allergies.
How Do I Choose the Right Style?
Select a style that complements your eye shape and the look you want to achieve. Natural styles enhance your features subtly, while dramatic styles add a bold statement.

Conclusion
Applying false eyelashes for a photoshoot can seem intimidating, but with the right preparation and techniques, you’ll achieve an eye-catching look that elevates your photos. By following this detailed guide, from understanding your options to mastering application, you’ll be well-equipped to make your eyes truly stand out. Remember, practice makes perfect, so don’t hesitate to try different styles and techniques to find what works best for you.