Have you ever wondered how to perfect the art of applying false eyelashes to your almond-shaped eyes? Understanding the nuances of your unique eye shape can transform the way you apply falsies, enhancing your natural beauty and elevating your makeup game. With the right techniques, you can achieve a stunning, effortless look that complements and highlights your almond eyes. In this friendly guide, we’ll walk through everything you need to know to apply false eyelashes to almond-shaped eyes like a pro.

Understanding Almond-Shaped Eyes
Almond-shaped eyes are often considered the ideal shape, being symmetrical and versatile for many makeup looks. But what exactly characterizes almond eyes? If you’re unsure about your eye shape or wish to understand it better, here’s a simple explanation.
Characteristics of Almond-Shaped Eyes
Almond-shaped eyes resemble the shape of an almond, with a wider center that tapers to a slight point on each end. Here’s how to tell if you have almond-shaped eyes:
- Symmetrical: Your eyes are symmetrical and the same on both sides.
- Visible Lid: When open, the visible eyeshadow area is more prominent than the crease.
- Tapering Ends: The corners of the eyes will slightly point upward.
Identifying your eye shape is the first step to mastering false eyelash application, allowing you to choose styles and techniques that best complement your features.
Choosing the Right False Lashes
When it comes to false eyelashes, it’s not one-size-fits-all. Almond-shaped eyes benefit most from lashes that accentuate their natural shape. Here are some tips on selecting the perfect pair:
Types of False Eyelashes
Understanding the different types of false eyelashes can help you choose the best ones for almond eyes:
- Strip Lashes: These are full-length strips, ideal for a dramatic look.
- Individual Lashes: These can be applied to specific areas for a more tailored, natural effect.
- Cluster Lashes: Groups of lashes that offer volume but allow for customization.
Recommended Styles for Almond Eyes
For almond-shaped eyes, certain styles will enhance your natural features:
- Winged Lashes: These have longer ends, perfect for accentuating the natural elongation of almond-shaped eyes.
- Flared Lashes: They deliver an uplifted effect, further highlighting the almond taper.
- Natural Lashes: Mimic your natural lash line with slight volume, for an everyday look.
Materials and Bands
Another important consideration is the material of the lashes and the type of bands used:
- Synthetic: Affordable and variety-rich, though less realistic.
- Mink or Silk: Offer a natural appearance, though typically at a higher cost.
- Clear Bands: Provide a seamless look, crucial for a polished finish.
Selecting the right lash can make all the difference in not just appearance, but comfort and longevity.
Preparing Your Eyes
Preparing your eyes before applying false eyelashes ensures that the application process is smooth and the lashes stay put throughout the day or night. Let’s go over the essential steps to get your eyes ready.
Essential Tools
Before you begin, gather the necessary tools to make the process easier:
| Tool | Purpose |
|---|---|
| Eyelash Curler | To curl your natural lashes for blending |
| Tweezers or Lash Tool | For precise application |
| Scissors | To trim lashes to the right length |
| Eyeliner | To conceal the lash band |
| Lash Glue | Secures the falsies to your natural lash line |
Prepping Your Natural Lashes
Taking a few preparatory steps can create a flawless base for your falsies:
- Clean Your Lids: Use a gentle, oil-free remover to clean your eyelids and lashes of any makeup, oils, or residue.
- Curl Your Lashes: Gently curl your natural lashes with an eyelash curler to help them blend seamlessly with your falsies.
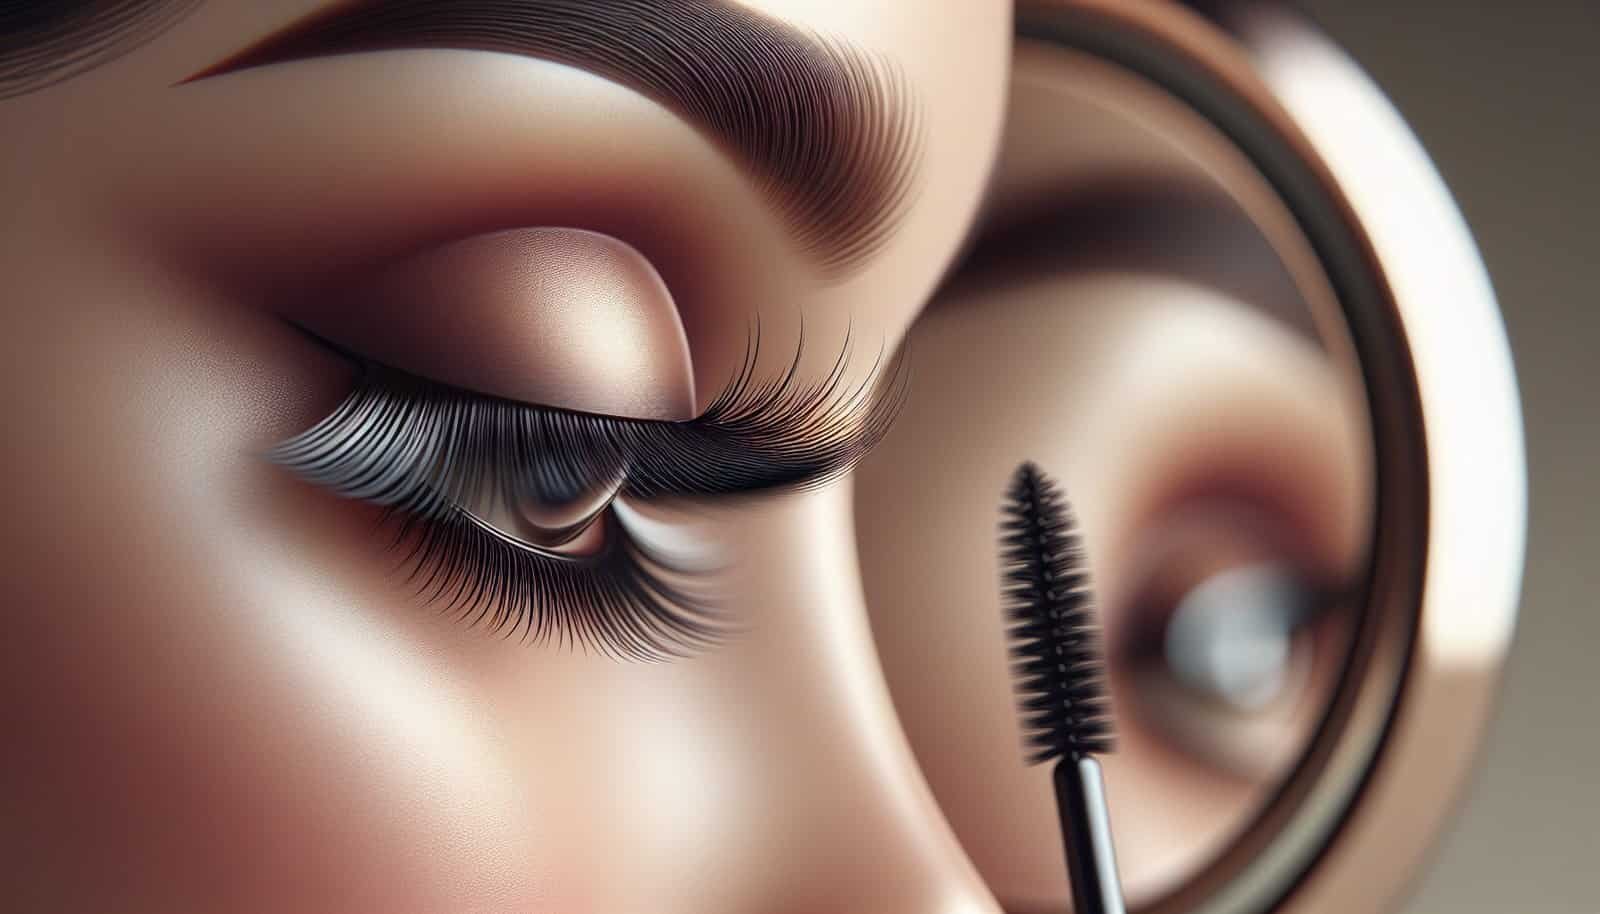
- Apply Mascara: A coat of mascara adds volume to your lashes and provides a solid base for false lashes to rest on.
Step-by-Step Lash Application
Applying false eyelashes might seem daunting at first, but it becomes easier with practice. Here’s a step-by-step guide to help you achieve the perfect look.
Measuring and Trimming
Correct sizing is critical for both comfort and appearance:
- Measure: Hold the lash strip against your natural lash line to gauge the length.
- Trim: If the strip is longer than your lash line, cut from the outer end for a comfortable fit.
Applying Lash Glue
Using the right glue and technique is key for a secure application:
- Apply Glue: Squeeze a thin line of glue onto the lash band. Be sure not to over-apply, as this can cause the glue to spill over onto your lid.
- Wait: Allow the adhesive to become tacky by waiting about 15–30 seconds before applying.
Attaching the Lashes
Now, for the crucial part:
- Position: Use tweezers or a lash applicator to hold the lash. Once the glue is tacky, position the strip along your lash line.
- Secure: Start with the center, then press down the inner and outer corners.
- Adjust: Use your fingers to gently press and blend the falsies with your real lashes, ensuring there are no gaps.
Finishing Touches
After securing the lashes, there are just a couple of finishing steps:
- Apply Eyeliner: Use a liquid eyeliner to conceal the lash band and finish with a clean line.
- Final Curl: Lightly press together your natural lashes and falsies with a curler if needed for better cohesiveness.

Addressing Common Issues
Sometimes, even with careful application, things don’t go according to plan. Here are some common issues and solutions when applying false eyelashes.
Problem: Lifting Corners
Lifting corners can be a hassle. For almond-shaped eyes where the ends taper, a secure hold is important. Ensure you:
- Wait for the glue to be adequately tacky before application.
- Press more securely on the ends after placing the lashes to ensure adhesion.
Problem: Uncomfortable Fit
If the lashes are uncomfortable, they might need adjustment:
- Trim the Lashes: Remember, always trim from the outer edge to maintain the natural shape.
- Adjust the Angle: Make sure the lashes follow the natural curve of your eye—angle them slightly upward for a comfortable fit.
Problem: Visibility of the Lash Band
If the lash band remains visible despite applying eyeliner:
- Use Thinner Bands: Opt for lashes with a clear band or a thinner strip for a more natural look.
Aftercare and Maintenance
Your application doesn’t end as soon as the lashes are on. Taking care of your falsies and eye health prolongs wearability and comfort.
Cleaning and Storing Your Lashes
Cleaning and storing your lashes properly extends their life and keeps them hygienic:
- Removal: Gently remove the lashes by holding the outer edge and pulling towards the inner corner.
- Clean: Remove any residual glue using tweezers or your fingers. Clean lashes with a gentle cleanser.
- Store: Keep in their original case to maintain their shape.
Caring For Your Eyes
Maintaining eye health is crucial:
- Avoid Sleeping in Lashes: Remove lashes before bed to prevent irritation.
- Watch for Redness: If irritation occurs, take a break from wearing lashes.

Conclusion
Applying false eyelashes to almond-shaped eyes can transform your look in the most flattering way. By understanding your eye shape, choosing the right lashes, and following a step-by-step application process, you can achieve a beautiful, seamless finish. Whether you’re going for a subtle enhancement or a dramatic appearance, mastering false eyelash application will give you the confidence and allure you’re aiming for. Enjoy the process, and soon enough, you’ll be applying them like a seasoned makeup artist!