Do you ever look in the mirror and wish your eyes had a little more drama? Sure, mascara does a decent job, but sometimes you want that extra pop. That’s where false eyelashes come in, and not just for the top lash line. If you’ve been curious about how to apply false eyelashes to the bottom lash line, you’re not alone. This process might seem intimidating at first, but with a bit of knowledge and practice, you can enhance your eyes in an entirely new way.

Understanding the Basics
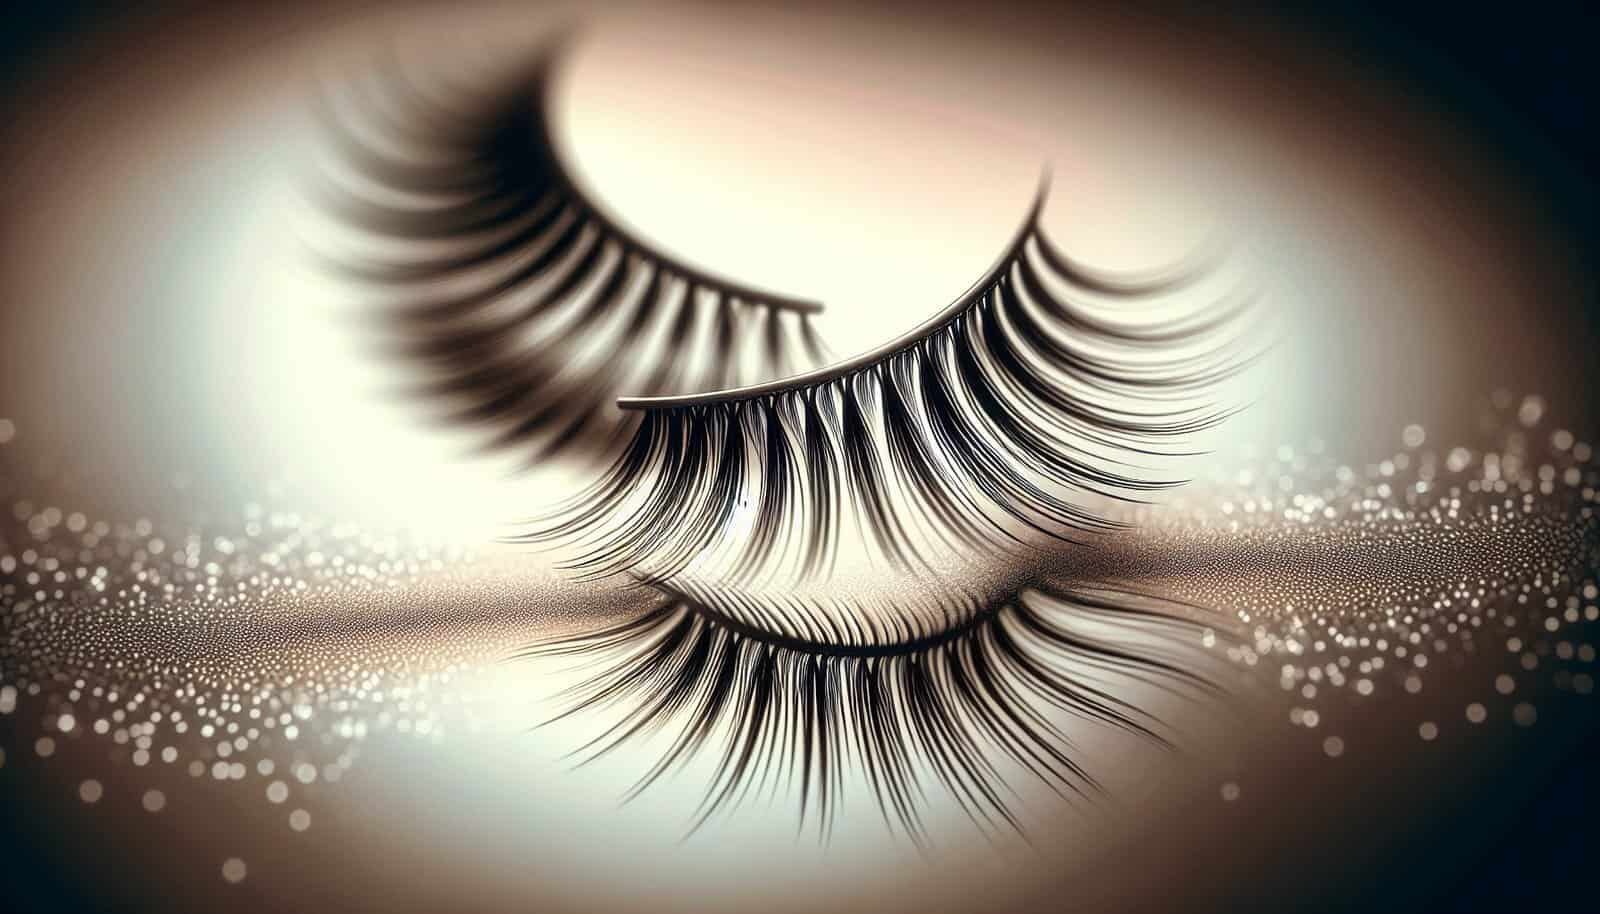
Before you jump into the world of bottom lash falsies, it’s helpful to have a basic understanding of what false lashes are and why you might want to apply them to your lower lashes in the first place. Unlike upper lash falsies, bottom lashes can add a subtle, yet impactful effect, creating a more balanced and defined eye look. They can also make your eyes look larger and more open, perfect for those special occasions or even everyday glam.
Why Apply False Eyelashes to the Bottom Lash Line?
You’ve likely seen false eyelashes applied to the upper lash line in countless makeup tutorials and beauty magazines. However, applying them to the bottom lash line offers a unique look and balances your overall eye makeup. The lower lashes, when enhanced, can create a doll-like appearance and draw more attention to your eyes. Moreover, if you have sparse lower lashes, falsies can provide the much-needed volume and density without the need for layers of mascara that might clump or flake.
Differences Between Top and Bottom Lash Falsies
It’s important to understand that not all false eyelashes are created equal. Bottom lash falsies are generally more subtle and less dense than those designed for the upper lash line. They are smaller and sometimes come in segments or clusters rather than a full strip, making them easier to blend with your natural lashes.
| Feature | Top Lash Falsies | Bottom Lash Falsies |
|---|---|---|
| Length and Volume | Longer and more voluminous | Shorter and less dense |
| Application Style | Typically full strips | Often segments or clusters |
| Effect | Dramatic and noticeable | Subtle and enhancing |
Preparing for Application
Preparation is key when applying bottom false lashes. This phase ensures the process goes smoothly and reduces any possibility of irritation or discomfort.
Gather Your Tools
Having the right tools can make application easier and more precise. Here’s a list of must-have items:
- False Lashes for Bottom Line: Choose ones that match your style preference.
- Tweezers: Great for handling and placing lashes.
- Lash Adhesive: Opt for a clear or dark formula.
- Small Scissors: To trim lashes if necessary.
- Eyeliner: Preferrably a gel or pencil liner to help blend the lashes.
- Mascara: Optional, for blending your natural lashes with the false ones.
Prepping Your Natural Lashes
Before applying false lashes, it’s important to clean your face to remove any oils or makeup remnants. This ensures that the adhesive can stick effectively. Curling your natural lashes and applying a light coat of mascara can provide a good base and help the false lashes blend seamlessly.
The Application Process
Applying bottom false lashes can be a bit tricky but breaking down the steps helps make the process manageable.
Step 1: Measure and Trim Your Lashes
Not all lashes will fit your eye perfectly. Holding the lash strip or cluster against your lash line allows you to see if any trimming is needed. Cutting from the outer edge, ensure they fit comfortably on your lash line without poking the corners of your eyes.
Step 2: Apply the Adhesive
Using tweezers, hold the lashes and apply a thin line of adhesive. It’s essential to wait 20-30 seconds for the glue to become tacky, which makes it easier to position and adhere immediately upon contact.
Step 3: Placement of Lashes
Here’s where it gets a tad intricate. Looking slightly upward in the mirror, align the lashes with your natural lash line. Use the tweezers for precision, pressing and adjusting until they’re placed securely. If using clusters, start from the outer corner and work inwards for a more natural progression.
Step 4: Secure the Lashes
After placing the lashes, gently press along the lash band using the tweezers or your fingers to ensure they adhere properly. Pay attention to the corners, where lifting is most likely to occur.
Step 5: Final Touches
If necessary, apply eyeliner along the waterline to blend the bases of your natural and false lashes together. A light coat of mascara can help merge your natural and false lashes, preventing any separation or noticeable gaps.
Care and Maintenance
To reuse your false lashes, proper care and storage are vital. Removing them gently and cleaning off the adhesive can extend their lifespan.
Removing the Lashes
At the end of the day, carefully peel the lashes away from the outer edge, using a cotton swab soaked in makeup remover to help dissolve the adhesive if needed.
Cleaning and Storage
Clean the lashes by removing residual glue carefully with tweezers. Store them in their original case to maintain their shape and protect them from dust.
Longevity and Reuse
High-quality lashes can be reused multiple times when cared for correctly. This not only saves money but also helps you achieve that perfect look effortlessly the next time.

Troubleshooting Common Problems
Applying false lashes to the lower lash line can come with challenges. However, you can address common issues with a little patience and some clever tricks.
Adhesive Not Sticking
If the lashes won’t adhere properly, double-check that the adhesive is tacky enough when applying and that your natural lashes are oil-free.
Lashes Lifting at Corners
Lifting edges are a frequent issue and happen when the lash band doesn’t properly fit or misses glue in crucial spots. Ensuring the band itself isn’t too long and that adhesive is adequately applied to the corners often resolves this problem.
Discomfort or Irritation
Discomfort often stems from improper placement or incorrect lash size. Ensuring a proper fit through trimming and using a sensitive formula adhesive can prevent irritation.
Uneven Lash Appearance
Mixing up cluster lengths and not blending with natural lashes can result in uneven lashes. Practicing a combination of trimming and diligent placement usually results in a more harmonious look.
Why Practice Makes Perfect
Applying false lower lashes might feel awkward at first, but practice cultivates confidence and skill. The more you apply them, the better you’ll become at knowing what works for your unique eye shape and style.

Conclusion
Enhancing your bottom lash line with false eyelashes can elevate your makeup game and highlight your eyes in a captivating way. By understanding the techniques, selecting the right tools, and practicing the application process, you’ll soon be applying bottom false lashes like a pro. Remember, beauty is about exploration, and occasionally stepping out of your comfort zone can lead to discovering what feels most authentically you. Whether you’re prepping for a glamorous night out or just want a bit more flair for your everyday look, bottom falsies could be the secret you’ve been searching for.