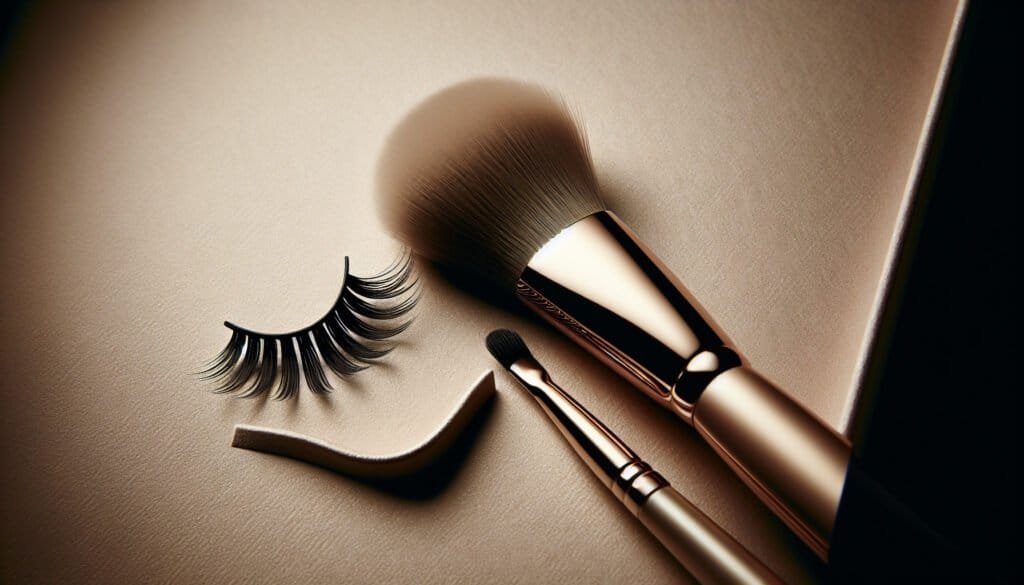
Have you ever wondered how some people get those picture-perfect, lifted lashes that seem to defy gravity? You’re not alone! Creating a lifted lash effect can elevate your everyday look and add a touch of elegance to your overall appearance. You might think achieving this involves professional help or a steep learning curve, but with the right techniques and a bit of practice, you’ll see it’s simpler than expected.
Understanding the Basics: Types of Lashes
Before you begin, it’s important to know the types of lashes available and how each one can contribute to a lifted lash look. The two main categories you’ll encounter are strip lashes and individual lash extensions. Familiarizing yourself with these options will help you decide which type best suits your needs.
Strip Lashes
Strip lashes are pre-made bands of lashes that you can apply quickly. These come in various lengths, textures, and volumes, allowing you to switch styles without difficulty. They are perfect if you’re seeking a quick, temporary solution for a night out or special event.
Individual Lash Extensions
On the other hand, individual lash extensions are applied by attaching each lash extension to your natural lashes. This provides a more customized and potentially more natural look. While the process is time-consuming and typically done by professionals, it offers long-lasting results.
Choosing the Right Lashes for a Lifted Effect
Choosing lashes that naturally uplift your eyes can make all the difference. Flared, winged, or curled lashes tend to give that desired lift. It’s also important to consider the shape of your eyes when selecting lashes for the most flattering look.
Consider Eye Shape
Different eye shapes need different lash designs to achieve that lifted effect. Here’s a quick guide to match eye shapes with lashes:
| Eye Shape | Recommended Lash Style |
|---|---|
| Round | Wispy lashes to enhance the eye shape |
| Almond | Cat-eye or winged lashes for accentuation |
| Hooded | Curled lashes to open up the eyes |
| Monolid | Fluttery lashes for added dimension |
| Downturned | Winged lashes to create a visual “lift” |
| Upturned | Rounded lashes for even lift |
Selecting the Right Curl
Lash curl refers to how much the lash curves. More curl generally means more lift. Here are common curl styles:
- J-Curl: Least curvature, natural-looking, good for a subtle lift.
- C-Curl: Moderate curve, great for achieving visible lift.
- D-Curl: Most curvature, for a dramatic eye-opening look.
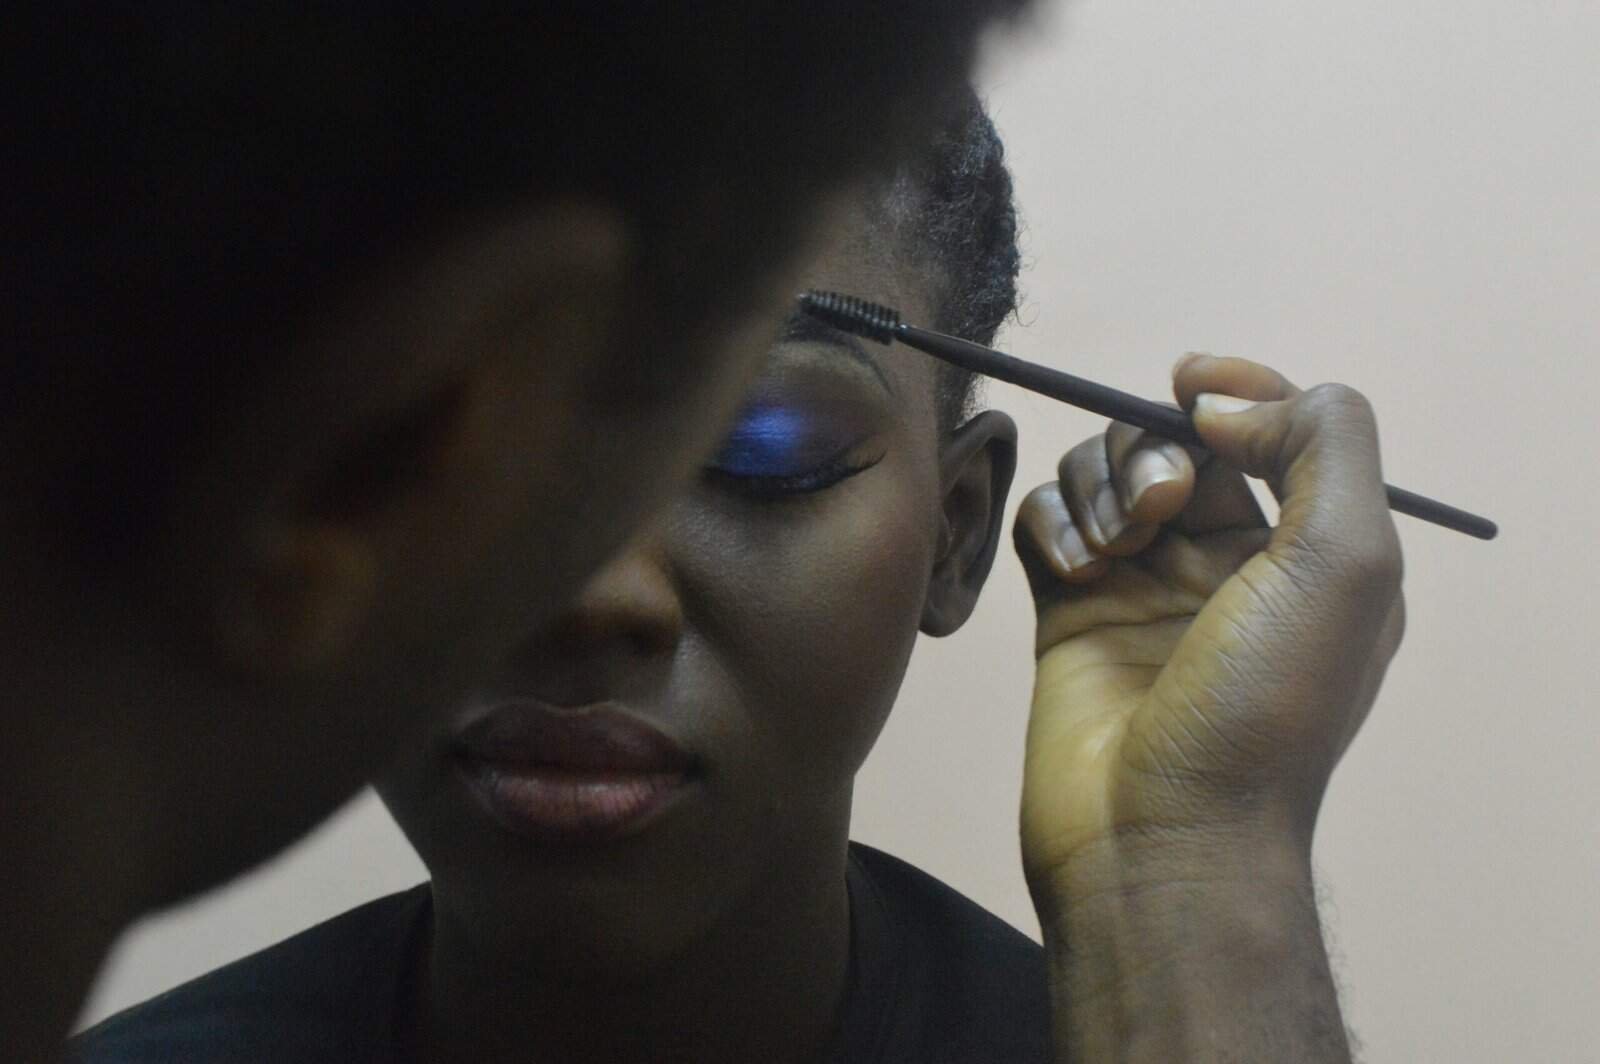
Tools You Will Need
Preparation is key for a smooth lash application. Make sure you have the following tools on hand:
- Lash Extensions or Strips: Select based on the results you’re aiming for.
- Lash Adhesive: Crucial for attaching the lashes securely.
- Tweezers: Helps in precise lash handling and application.
- Eyelash Curler: To pre-curl your natural lashes if needed.
- Mascara: Optional, for blending natural with synthetic lashes.
- Scissors: For trimming lashes if necessary to fit your eye shape.
- Mirror: A close-up, angled mirror allows more control and visibility.
Step-by-Step Guide to Applying Lashes
Achieving a lifted look is as much about the method as it is about selecting the right lashes. Let’s break it down into easy steps:
Step 1: Prepare Your Natural Lashes
Start by curling your natural lashes with an eyelash curler. This gives them an initial lift and creates a sturdy base for further applications.
Step 2: Measure and Trim Your Lashes
Place a lash strip on your eyelid without glue to check its length. Trim any excess from the outer edge, ensuring a perfect fit along your lash line.
Step 3: Apply Lash Adhesive
Squeeze a thin line of lash adhesive onto the lash band. Let it sit for about 30 seconds or until it becomes tacky. This step is crucial for long-lasting adherence.
Step 4: Position and Apply the Lashes
Using tweezers, position the lash strip starting from the middle of your eyelid, then press the outer and inner corners down. Ensure they align closely with your natural lash line.
Step 5: Secure and Set Lashes
Gently press along the lash band with your fingertips or tweezers to secure. If needed, apply a bit of mascara to blend your natural lashes with the strip.
Step 6: Final Adjustments
Check for any loose ends or discomfort. Adjust using tweezers as necessary for comfort and better adhesion.
Tips for a Perfect Lifted Lash Effect
Now that you know the process, let’s enhance those results with some expert advice:
Apply Lashes in a Well-Lit Area
Good lighting reduces mistakes and ensures even application.
Use Black Adhesive for Seamless Blend
While some prefer clear adhesive, black offers a natural look, mimicking eyeliner.
Enhance with Eyeliner
After applying lashes, a thin line of eyeliner can mask the lash band and create a polished finish.
Practice Makes Perfect
Don’t be discouraged by initial struggles. Regular practice refines your technique and confidence.
Common Mistakes and How to Avoid Them
As with any makeup routine, learning what to avoid can boost your results considerably.
Using Too Much Adhesive
A common pitfall is applying too much glue, which can cause messy application and discomfort. A thin, even line is sufficient for a strong hold.
Skipping the Trim
Forgetting to trim lashes can result in lifting or poking and cause discomfort. Always customize the lash strip to fit your unique eye shape.
Applying Lashes Too Quickly
Allow adhesive to become tacky before application. Rushing can lead to misplacement and poor bonding.
Ignoring Lash Health
Regularly wearing false lashes without pauses can stress your natural ones. Ensure you remove them carefully and give your lashes breaks between applications.
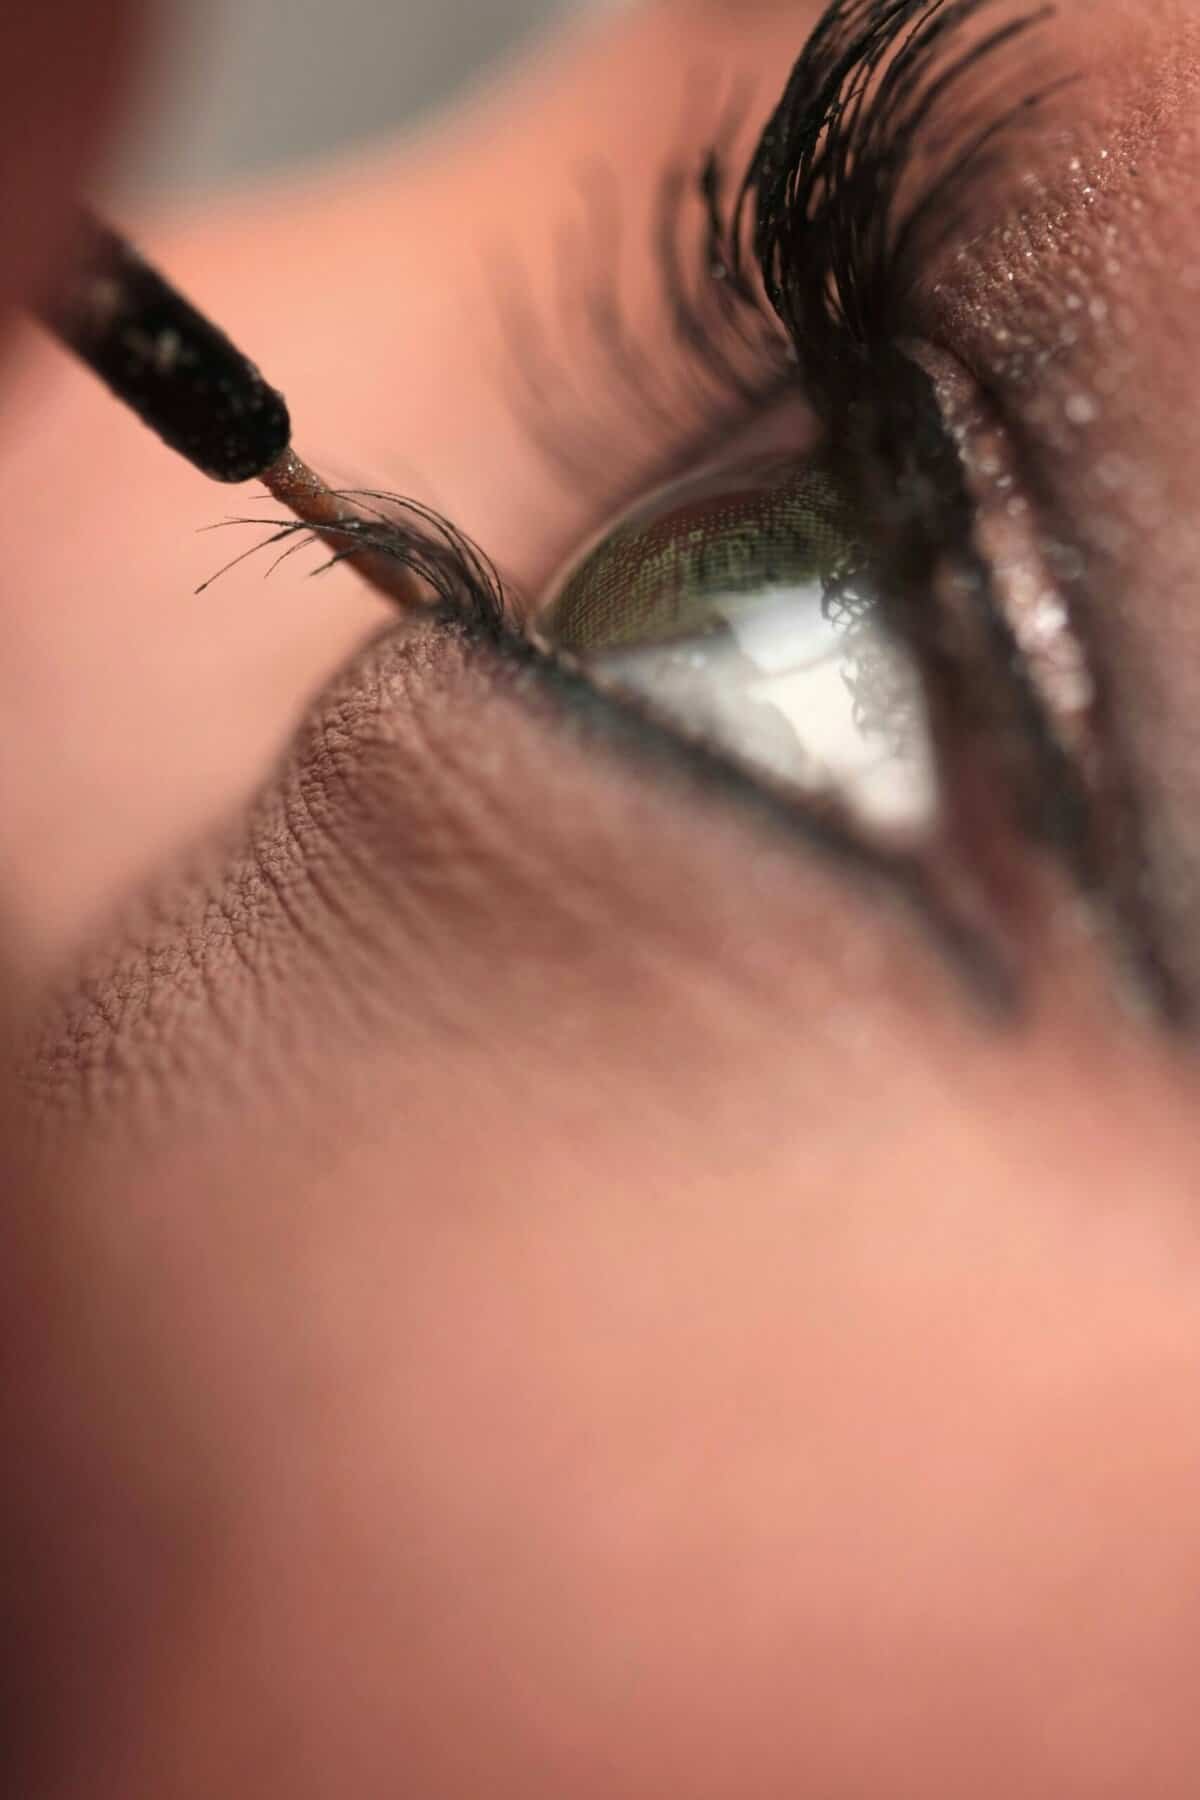
Removing Lashes Safely
Removing lashes correctly maintains natural lash health and makes future applications easier.
Gently Peel Lashes Off
Never yank lashes abruptly. Starting from the outer corner, gently peel towards the inner corner.
Clean and Store Lashes
For reusable strips, cleanse gently and store properly for future use. Individual lashes usually won’t survive reuse, so discard them after removal.
Soothe Your Eyes
Post-removal, soothe your eyelids with a gentle cleanser and apply a nourishing lash serum if desired to maintain lash health.
Maintaining Your Natural Lashes
While strips and extensions enhance appearance, maintaining your natural lashes ensures longevity and health.
Use Quality Products
Invest in reputable lash serums and nourishing mascaras. They promote strength and volume without causing damage.
Be Gentle with Makeup Removal
Avoid harsh rubs. Opt for eye-safe removers and gentle motions.
Regular Lash Breaks
Even your natural lashes need periodic rest. Take a break from extensions every few weeks to allow natural regrowth.
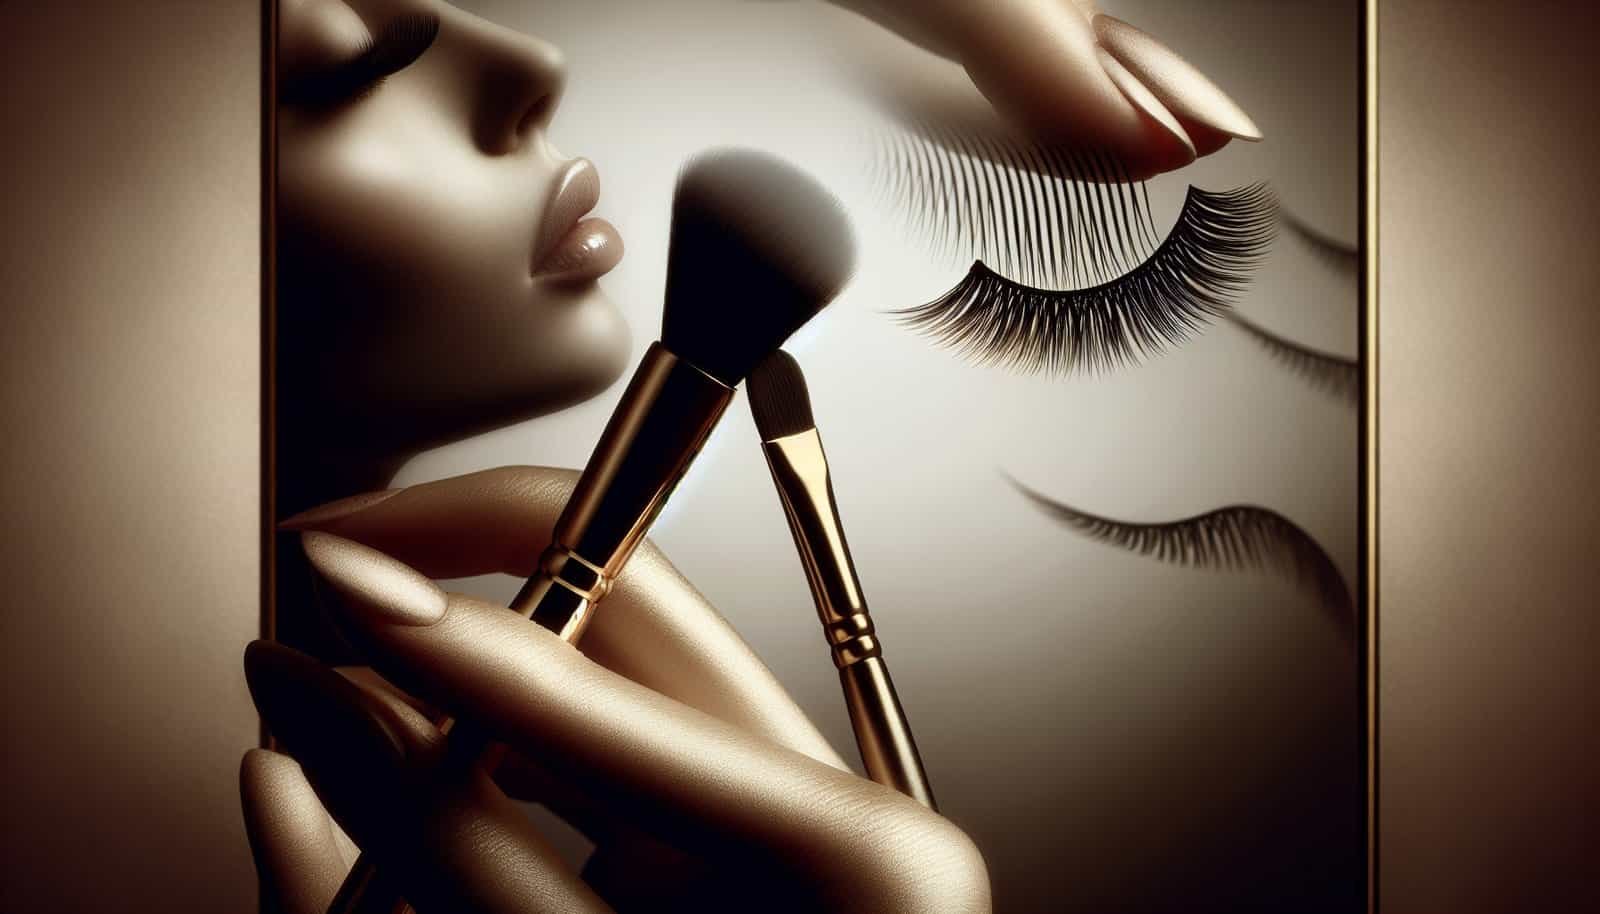
Elevate Your Makeup Routine with Lifted Lashes
Understanding how to apply lashes effectively not only boosts your appearance but also enhances other makeup elements. Pairing lifted lashes with the right eye makeup amplifies the overall effect. Experiment with different looks and finds what works best for you.
Conclusion: Embrace the Lifted Lash Lifestyle
By mastering the art of applying lashes, you’re investing in a skill that elevates your look for any occasion. It might seem a bit daunting initially, but the steps are straightforward. Choose the right lashes, gather your tools, and practice the application technique. Soon enough, your lifted lash effect will draw compliments and give you that added touch of glamour that makes you shine. Happy lashing!
