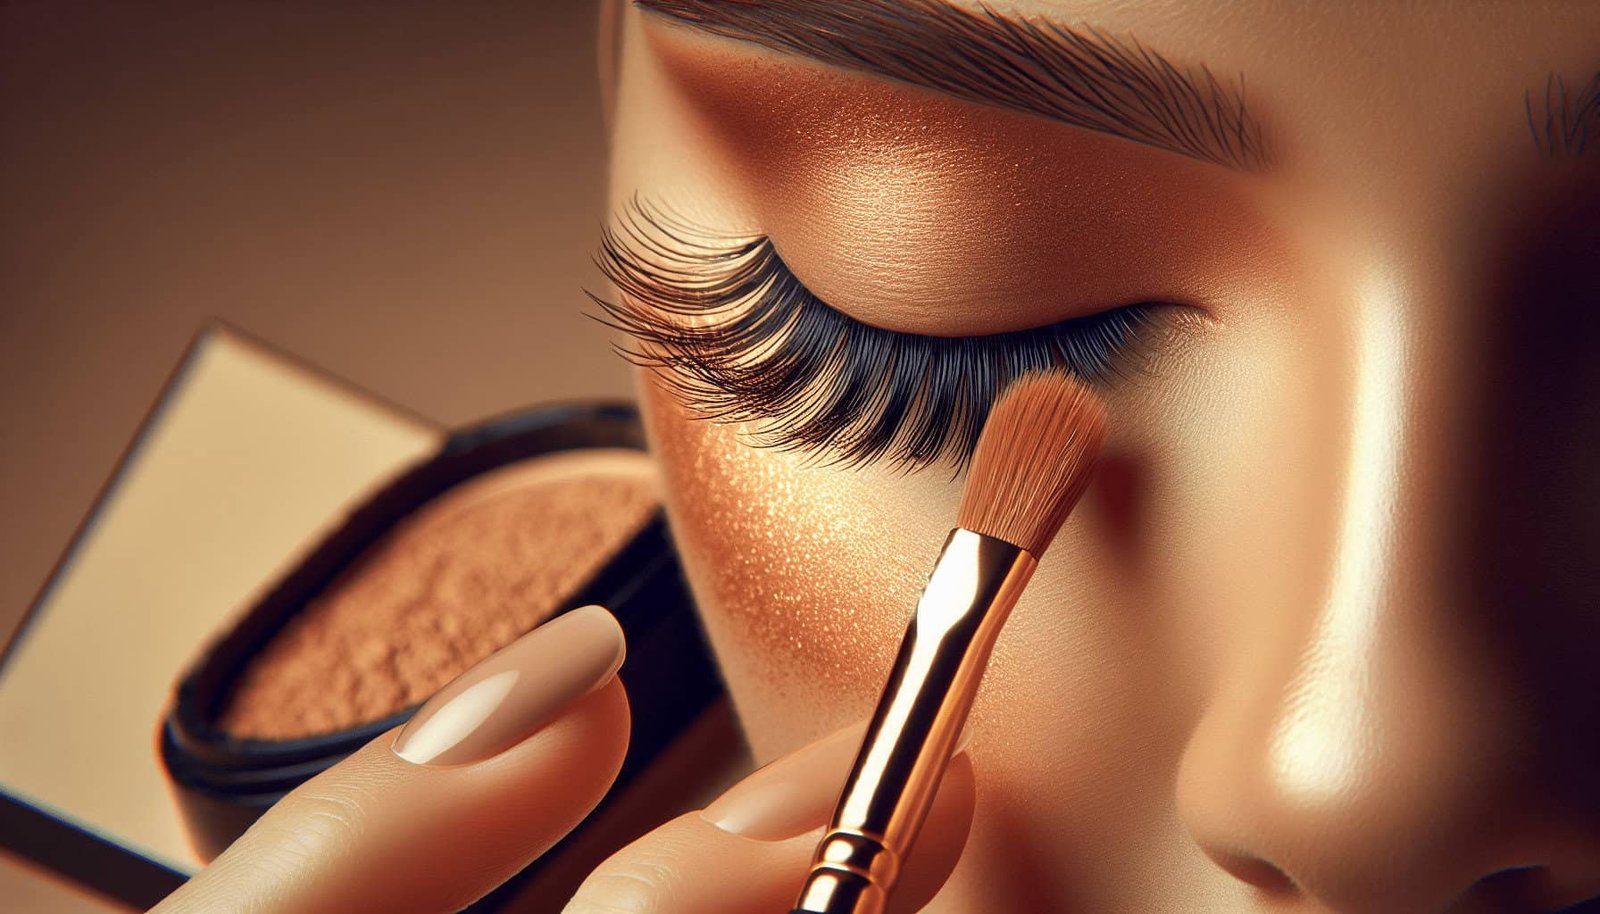
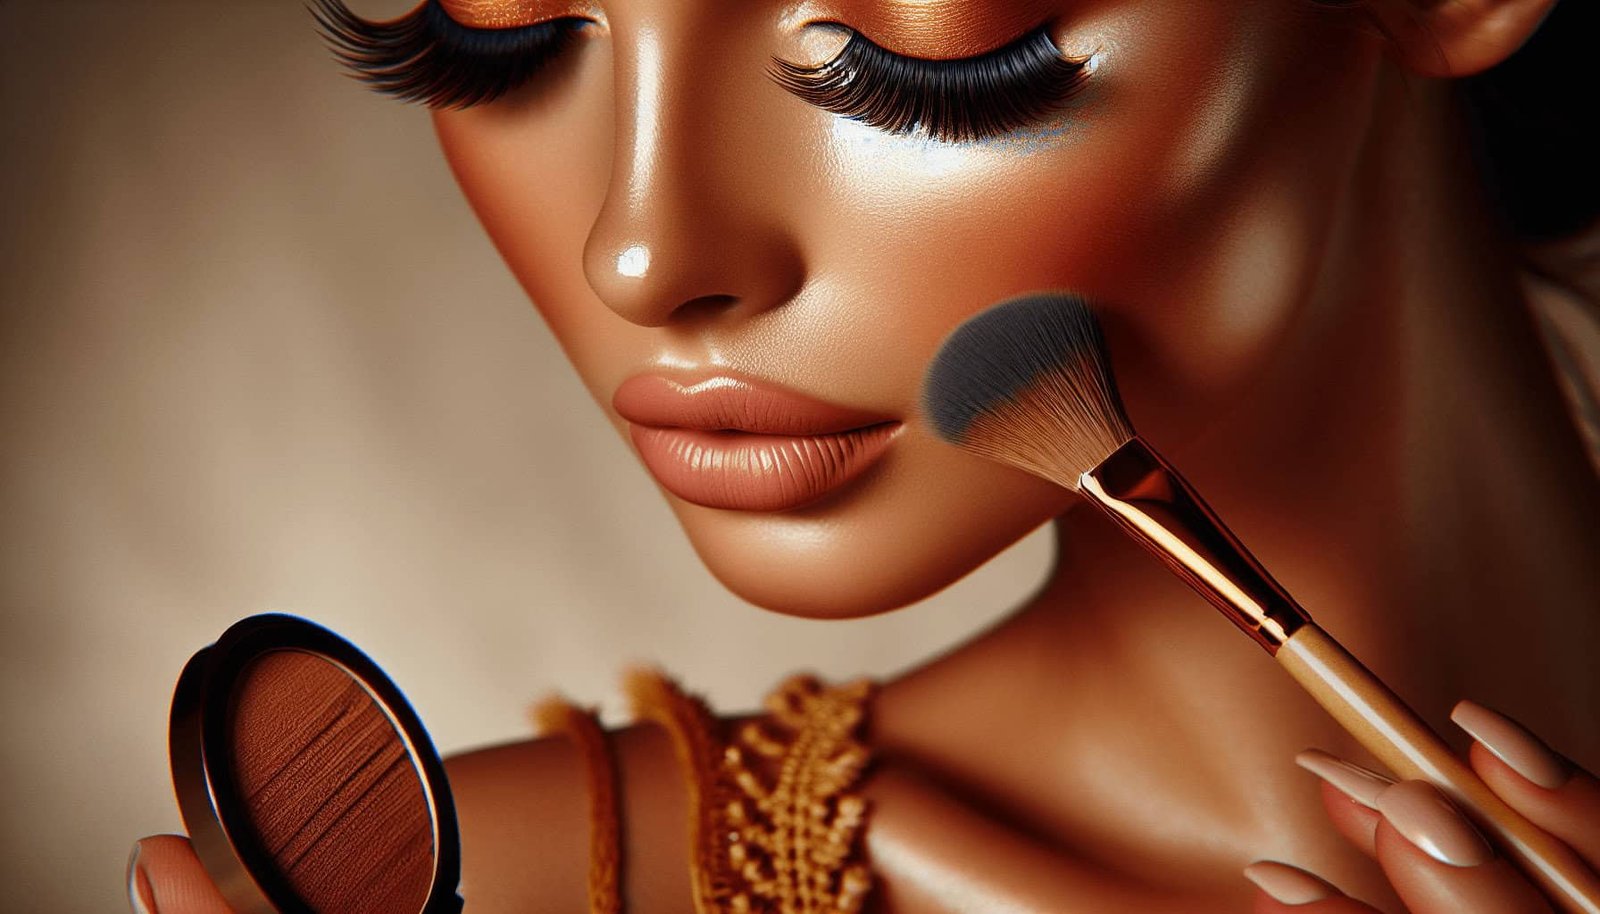
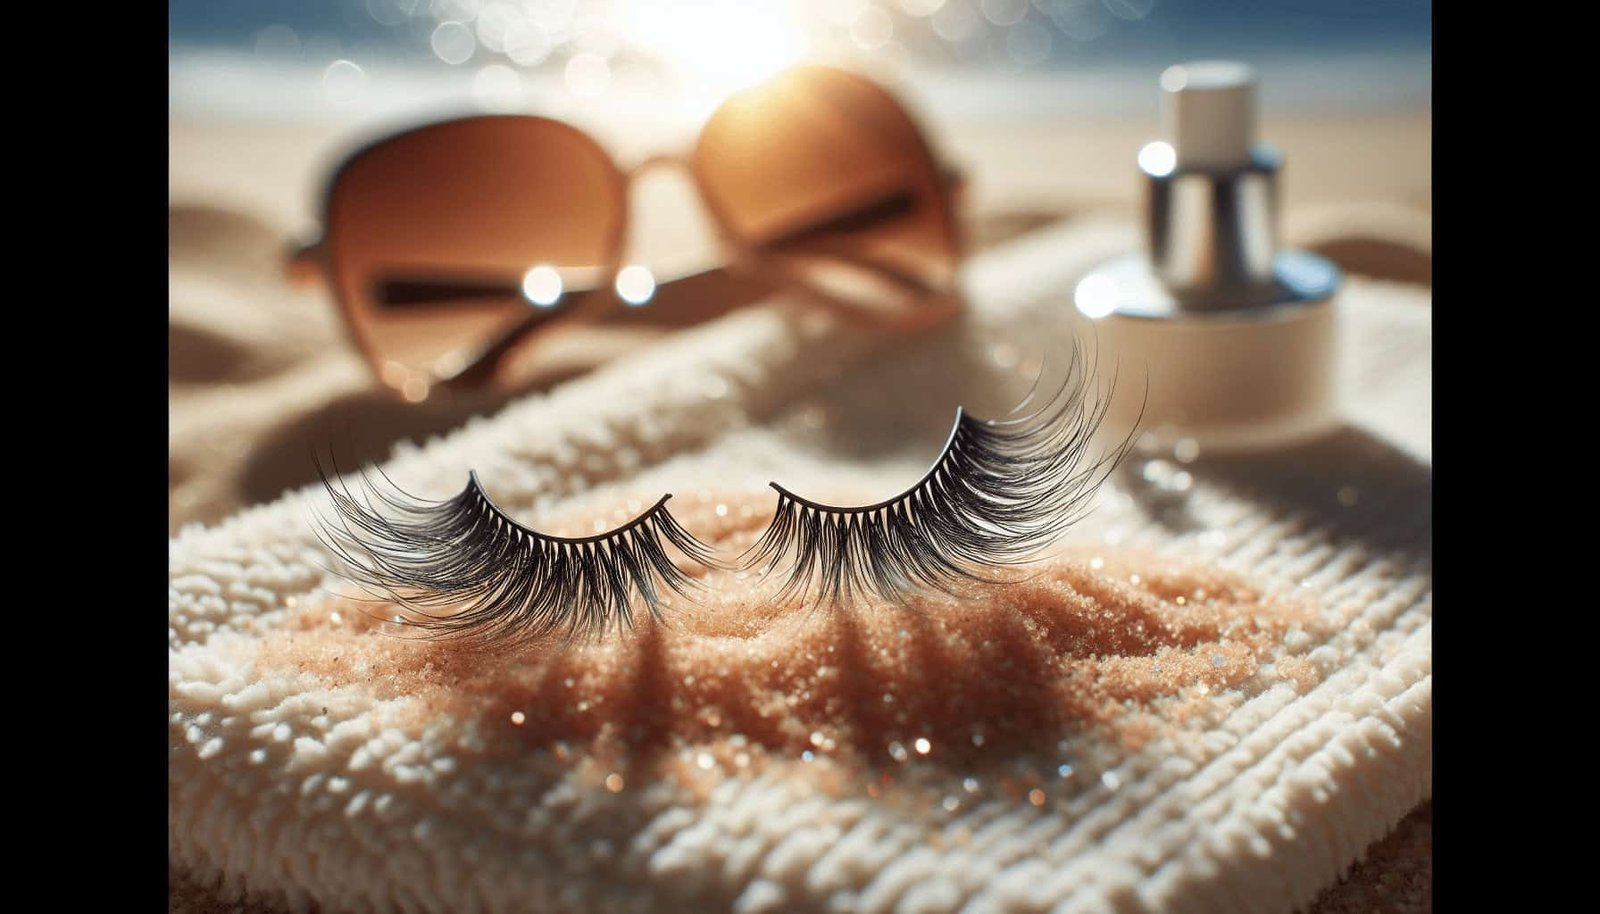
Have you ever wondered how to achieve that sun-kissed glow while perfectly enhancing your eyelashes? It’s a look that exudes effortless beauty, capturing the essence of a warm, carefree day. You’re in the right place to learn every detail on how to apply lashes to complement that radiant glow.

Understanding the Sun-kissed Glow
Before diving into the world of lashes, let’s briefly cover what a sun-kissed glow really means. This look is all about mimicking the natural, radiant warmth you get from spending a little time in the sun. Imagine a healthy, bronzed complexion with a soft, golden touch. This doesn’t just stop at your skin; it extends to your eyes too. So, why not give your lashes the same loving attention?
Choosing the Right Lashes for a Sun-kissed Look
Natural vs. Dramatic Lashes
When aiming for a sun-kissed glow, it’s crucial to pick lashes that complement this look instead of overpowering it. Natural lashes are usually the best choice here. They offer a soft, subtle enhancement that blends well with your overall appearance.
Natural Lashes
- Pros: Light, comfortable, and easy to apply.
- Cons: Might not offer a dramatic change in appearance.
Dramatic Lashes
- Pros: Adds significant volume and length.
- Cons: Can look out of place with a sun-kissed glow.
Comparison Table: Natural vs. Dramatic Lashes
| Feature | Natural Lashes | Dramatic Lashes |
|---|---|---|
| Volume | Low to medium | High |
| Length | Moderate | Long |
| Comfort | Very comfortable | Less comfortable |
| Best for | Everyday look, subtle | Special occasions |
| Match with sun-kissed glow | Excellent | Not ideal |
Material: Synthetic vs. Mink
Another crucial factor to consider is the type of material used in the lashes. Synthetic and mink lashes are the two most popular choices.
Synthetic Lashes
- Pros: Affordable and available in various styles.
- Cons: Can be less comfortable and appear less natural.
Mink Lashes
- Pros: Lightweight, natural-looking, and comfortable.
- Cons: More expensive and require careful maintenance.
Comparison Table: Synthetic vs. Mink Lashes
| Feature | Synthetic Lashes | Mink Lashes |
|---|---|---|
| Look | Less natural | Very natural |
| Cost | Affordable | Expensive |
| Comfort | Moderate | High |
| Maintenance | Low | High |
| Durability | High | Moderate |
Prepping Your Eyes and Lashes
Cleaning and Moisturizing
Before applying lashes, you need to ensure that your eyelids are clean and free from oils. Oils can interfere with the lash adhesive, preventing it from sticking properly.
- Cleanse: Use a gentle eye makeup remover or micellar water to cleanse your eyelids.
- Moisturize: Apply a lightweight eye cream to keep the skin hydrated but avoid the lash line.
Curling Your Natural Lashes
Curling your natural lashes beforehand can help the false lashes blend seamlessly.
- Curling Tool: Use an eyelash curler to lift your lashes.
- Technique: Clamp the curler at the base of your lashes and hold for a few seconds. Repeat midway along the lashes for a fuller curl.
Applying Mascara to Natural Lashes
A light coat of mascara can help your natural and false lashes bond better.
- Select Mascara: Choose a mascara that adds volume without clumping.
- Apply: Gently apply one coat to your natural lashes and let it dry.
How to Apply False Lashes
Selecting the Right Adhesive
The adhesive you use can make or break your lash application.
- Waterproof Adhesive: Offers strong hold but can be harder to remove.
- Non-Waterproof Adhesive: Easier to work with and remove but may not hold up well against sweat.
Tips for Adhesive Application
- Dot Technique: Apply small dots of adhesive along the lash band.
- Wait: Allow the adhesive to become tacky, usually about 30 seconds.
Placement of Lashes
Proper placement is key for a natural look.
- Measure and Trim: Measure the lash against your eyelid and trim any excess from the outer edge, not the inner corner.
- Tweezers: Use tweezers for better control.
- Placement: Position the lashes as close to your natural lash line as possible. Start in the middle, then press down the outer and inner edges.
Final Touches: Blending
To ensure your false lashes blend seamlessly with your natural lashes:
- Mascara: Apply another light coat of mascara to bond your natural and false lashes together.
- Eyeliner: Use a liquid or gel eyeliner to cover any gaps and ensure the lash band blends in with your lash line.
Maintaining Your Lashes
Taking good care of your false lashes can extend their life.
- Clean Gently: Use a lash cleanser or micellar water to remove any leftover adhesive.
- Store Properly: Keep them in their original case to maintain their shape.

Complementing Your Lashes with Face Makeup
Subtle Bronzer Application
Bronzer is essential for achieving that sun-kissed glow.
- Choose the Right Shade: Use a bronzer that’s just one or two shades darker than your natural skin tone.
- Apply: Sweep bronzer on areas where the sun naturally hits your face – forehead, cheekbones, and jawline.
Highlighting for Extra Glow
Highlighter can enhance the glow factor.
- Select the Right Highlighter: Opt for golden or champagne tones for a sun-kissed look.
- Apply: Dab highlighter on the tops of your cheekbones, brow bones, and down the bridge of your nose.
Balancing with Lip Color
Your lip color should harmonize with your sun-kissed glow.
Nude and Peach Tones
- Nude Shades: Perfect for a natural, understated look.
- Peach Shades: Adds a subtle pop of color while maintaining a natural vibe.
Gloss vs. Matte
- Gloss: Provides a youthful, dewy finish.
- Matte: Offers a sophisticated, long-lasting look but might appear flat.
Comparison Table: Gloss vs. Matte Lip Color
| Feature | Gloss | Matte |
|---|---|---|
| Shine | High | Low |
| Longevity | Moderate | High |
| Comfort | High | Variable |
| Best for | Casual look | Formal look |

Mistakes to Avoid
Overdoing the Volume
While it’s tempting to pick the most voluminous lashes available, they can often overshadow your natural beauty. Opt for lashes that enhance rather than mask your features.
Misaligned Lashes
Ensure your lashes are applied straight and as close to the lash line as possible. Misaligned lashes can be a dead giveaway and distract from the overall look.
Skipping the Adhesive Application Step
Neglecting this can lead to lashes that lift at the edges and don’t stay put. Proper adhesive application is crucial for a lasting look.
Troubleshooting Common Issues
Lashes Lifting
If the corners of your lashes are lifting, it often means there wasn’t enough adhesive or it wasn’t tacky enough before application. To fix this, apply a small dot of adhesive to the lifting end, wait until it becomes tacky, and press it down.
Uneven Lengths
If your lashes look uneven:
- Trim Lashes: Take small scissors and even out the lengths, always trimming from the outer edges.
- Reposition: Sometimes, simply repositioning the lashes can solve the problem.
Difficulty in Removal
To remove lashes without damaging your natural ones:
- Soak with Remover: Use an oil-based makeup remover or lash cleanser to dissolve the adhesive.
- Gently Peel Off: Starting from the outer corner, gently peel the lashes off.

Practice Makes Perfect
As with any skill, the more you practice, the better you’ll get. Spend some time experimenting with different lash styles, adhesives, and techniques to find what works best for you.
Conclusion
Understanding how to apply lashes for a sun-kissed glow can significantly enhance your overall look. With some practice, carefully selecting the right lashes and adhesive, and paying attention to complementary makeup, you can create a beautiful and radiant appearance that looks both natural and glamorous. Remember, the key is to enhance your natural beauty without overshadowing it.


