Have you ever wondered how you can prolong the life of your luxurious false eyelashes and maintain their glamorous look? False eyelashes can be a fantastic addition to your beauty routine, adding drama and flair to any makeup look. However, getting the most out of them involves more than just application and removal; attentive care is required for optimal reuse. This guide will walk you through cleaning and maintaining your false eyelashes so you can enjoy them for multiple uses while maintaining hygiene and appearance.

Understanding False Eyelashes
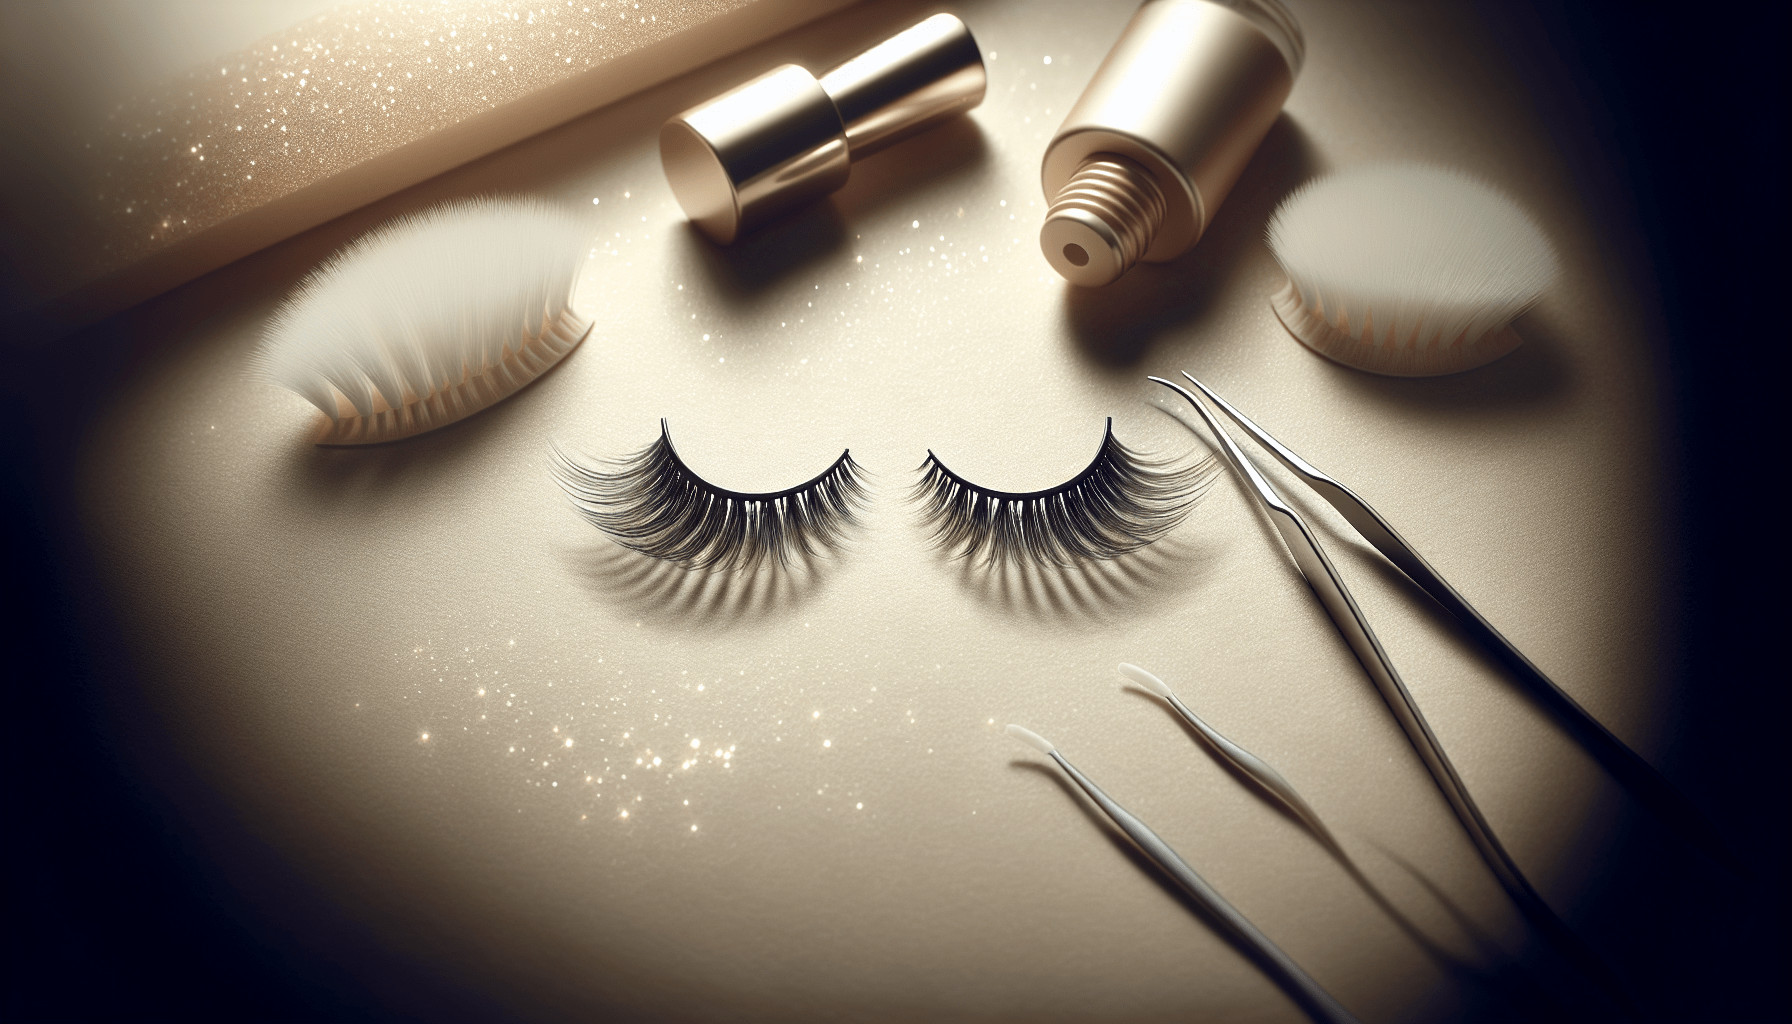
Before diving into the cleaning process, it’s essential to understand what false eyelashes are made of and their various types. This knowledge helps you choose appropriate cleaning methods and products.
Types of False Eyelashes
False eyelashes come in several types, each offering a unique look and application experience. Here’s a brief overview to help you identify what you have:
Synthetic Lashes: Made from man-made materials, these are often shinier and less expensive than their natural counterparts. While durable, they may not look as natural.
Human Hair Lashes: Lightweight and natural-looking, these lashes are made from real human hair. They’re typically more fragile than synthetic lashes.
Mink and Silk Lashes: These fall into the premium category. Mink lashes are known for their soft and fluffy appearance, while silk lashes offer a slightly thicker and more dramatic look.
Different materials may require specific care and cleaning techniques. Always refer to the manufacturer’s instructions if available.
Preparing Your Workspace
Before starting the cleaning process, ensure you have the right tools and a clean workspace.
Tools You’ll Need
Gather these materials to effectively clean your false eyelashes:
| Tools Needed | Description |
|---|---|
| Makeup Remover | Oil-free formulas are best to avoid residue build-up. |
| Cotton Swabs or Pads | Useful for gentle application of cleaning solutions. |
| Tweezers | Help in handling tiny lash strands delicately. |
| Rubbing Alcohol (70% or 90%) | Used for disinfecting the tweezers and drying tray. |
| Lash Tray or Clean Towel | For drying and reshaping the lashes. |
| Lash Comb or Spoolie Brush | To reshape lashes after cleaning. |
Ensure your workspace is well-lit and clean, minimizing the risk of losing your lashes or contaminating them with dirt.
Step-by-Step Cleaning Guide
Cleaning false eyelashes might seem daunting at first, but with the right steps, it becomes an easy part of your routine. Here’s how to do it:
Step 1: Remove the Lashes
Gently peel off the false eyelashes from the inner corner to the outer edge. Avoid tugging, as this can damage both the lashes and your natural lash line. If the adhesive is strong, use a cotton swab soaked in makeup remover to loosen it along the lash line.
Step 2: Remove Glue Residue
Once you’ve removed the lashes, the next step is getting rid of the remaining adhesive:
Use Tweezers: Carefully grip the adhesive bits along the lash band with tweezers and pull them off. Do this slowly to avoid tearing the lash band or individual lashes.
Use Your Fingers: You can also use your fingers if you’re confident in your touch. Roll the glue between your fingers and gently peel it away.
Step 3: Clean the Lashes
Now, it’s time to clean the lashes themselves:
Apply Makeup Remover: Choose an oil-free makeup remover. Dip a cotton swab or pad into the remover and gently wipe it over the lashes, focusing on the lash band and extensions to remove any remaining makeup.
Soak If Necessary: For stubborn residues, soak the lashes in a small bowl of the remover for a couple of minutes before wiping them clean with a cotton pad.
Step 4: Rinse and Dry
After cleaning, rinse your lashes with cool water to remove excess cleaning solution. Be gentle, as rough handling can change their shape.
Lay Flat on a Towel: Place them on a clean, dry towel and blot them gently. This soaking step helps maintain the curl and shape of the lash.
Air Dry on a Lash Tray: If you have a lash tray, let them dry there to help retain their shape. This also prevents them from adhering to other surfaces.
Step 5: Disinfect and Comb
To ensure complete hygiene:
Disinfect the Tweezers and Lash Band: Use a small amount of rubbing alcohol on the tweezers and lightly swab the lash band.
Comb the Lashes: Use a lash comb or a spoolie brush to gently comb through the lashes. This step helps separate them and restore their original shape.
Storing Your False Eyelashes
Proper storage extends the life span of your lashes and keeps them looking fabulous between uses.
Using Original Packaging
If you’ve kept the original packaging, it’s your best bet for storing cleaned lashes. The packaging maintains their shape and protects them from dust.
Alternatives to Original Packaging
If the original packaging isn’t available, consider these options:
Lash Cases: Specifically designed to hold lash pairs and their shapes.
Small Boxes or Containers: Opt for ones with compartments to keep each pair separate.
Avoid These Mistakes
Random Storage: Avoid tossing them in your makeup bag where they can collect dust and debris.
Excess Moisture and Heat: Store lashes in a cool, dry place to prevent damage from moisture and heat.

Tips for Prolonging Lash Life
There are several tips to ensure that your falsies remain in great condition for as long as possible:
Avoid Mascara on False Lashes
Avoid applying mascara directly on false lashes, especially mink or silk lashes, which can clump them and shorten their life span. Instead, apply mascara to your natural lashes before affixing the false ones.
Gentle Handling
Be gentle when handling your lashes, whether applying, removing, or cleaning them. This will reduce the wear and tear that often leads to a short lifespan.
Adhesive Application
Apply a thin layer of adhesive and wait until it becomes tacky before you place the lash on your eyelid. This method helps maintain the integrity of both your lashes and the adhesive.
Troubleshooting Common Problems
When dealing with false eyelashes, you might encounter some common issues. Here’s how to handle them:
Lashes Losing Shape
If your lashes are not holding their curl, use a clean spoolie to brush and reshape them gently. If they are severely misshapen, consider using a clean eyelash curler with very light pressure.
Stubborn Glue Doesn’t Come Off
For glue that just won’t budge, let the lashes soak a little longer in makeup remover. If that doesn’t work, specialized lash adhesive removers are available in beauty stores.
Allergic Reactions
If you suspect an allergic reaction, stop using the product immediately. Opt for hypoallergenic brands or consult a dermatologist for advice on suitable alternatives.
Conclusion
Cleaning and reusing false eyelashes can seem like a daunting task, yet with the right knowledge and tools, it becomes a simple addition to your beauty maintenance routine. Make sure to prepare properly, follow the cleaning steps carefully, and store them adequately. By implementing these techniques, your eyelash extensions will not only sustain numerous uses but also maintain their vibrancy and allure. Now, you’re all set to flaunt your fabulous lashes repeatedly, ensuring your eyes always have that desirable allure!