So you’ve just applied your false eyelashes and realized that they aren’t sitting perfectly in place? Don’t worry, we’ve all been there! Whether they’re too far apart or sitting a little lower than you’d like, adjusting your false eyelashes is a simple fix. In this article, we’ll share some tried and tested tips on how to adjust the position of your false eyelashes to ensure they enhance your natural beauty flawlessly. Get ready to bat those stunning lashes with confidence!
Adjusting False Eyelashes
False eyelashes can be a great way to enhance your natural lashes and add drama to your eyes. However, sometimes they may not be applied perfectly on the first try. Don’t worry, though! There are several techniques you can use to adjust the position of your false eyelashes and ensure they are perfectly aligned for a stunning look. In this article, we will guide you through the process of adjusting false eyelashes with step-by-step instructions and helpful tips.
Checking Initial Placement
Before you begin adjusting your false eyelashes, it’s important to assess their initial placement. Stand in front of a mirror and carefully observe how they sit on your lash line. Take note of any areas that may need improvement, such as the inner corner, outer corner, or middle section. By identifying the specific areas that need adjustment, you can focus on those areas more effectively.
Using Tweezers or Your Fingers
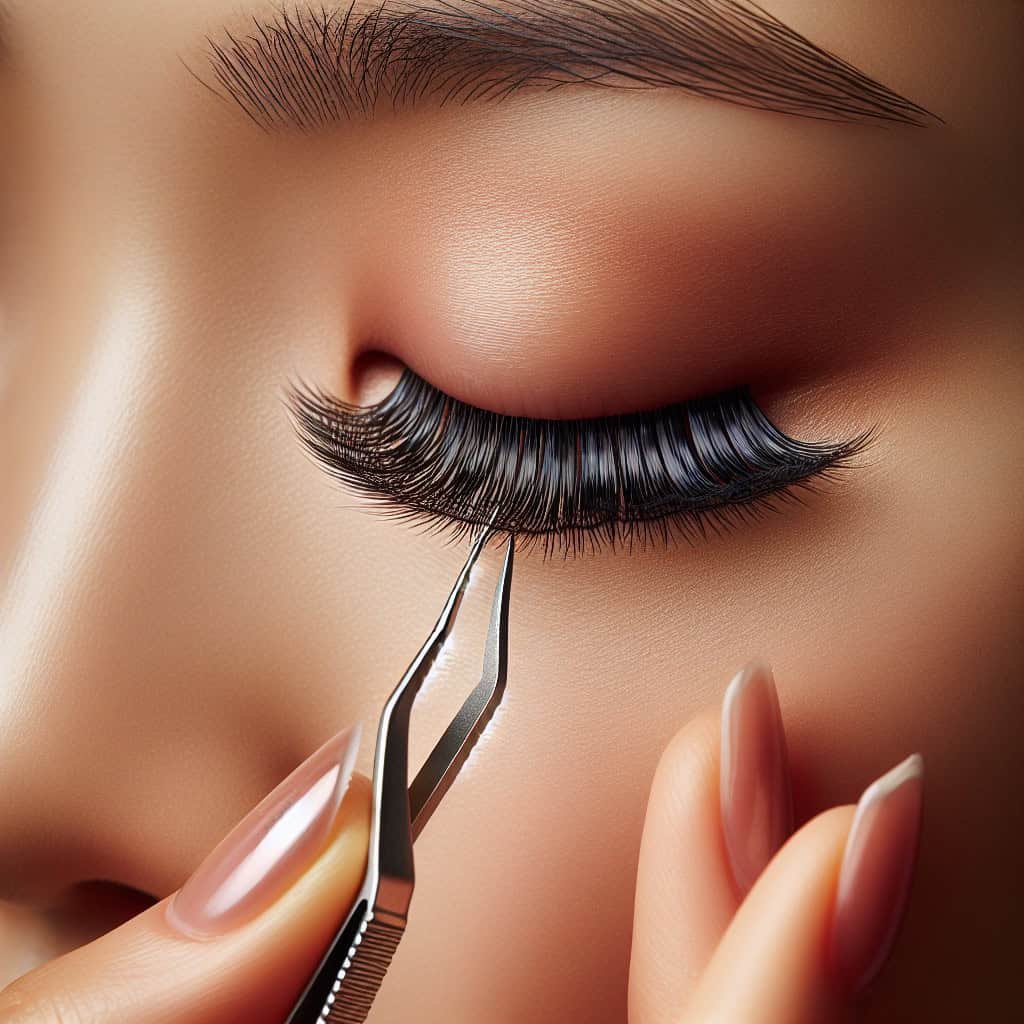
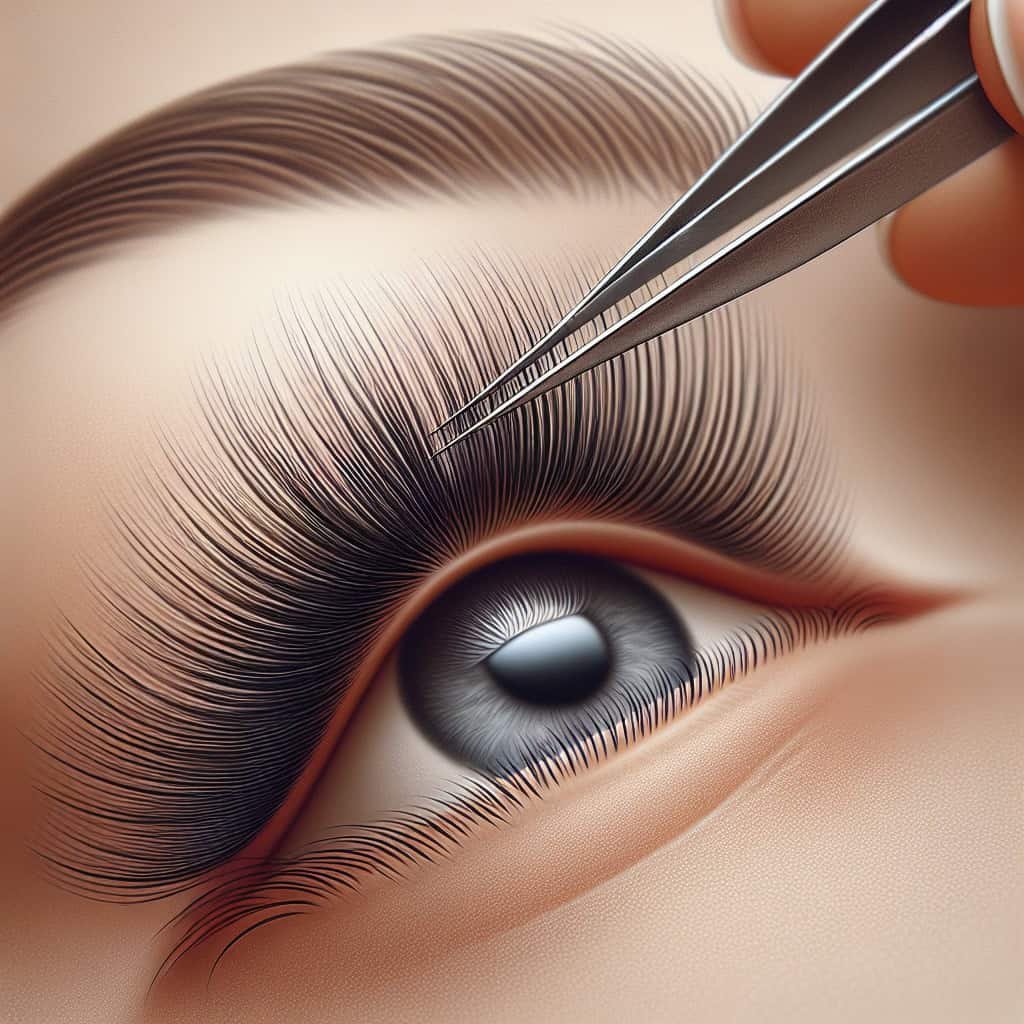
One common method for adjusting false eyelashes is using tweezers or your fingers. Start by gently gripping the outer corner of the lash band with your tweezers or fingertips and carefully lift it away from your natural lashes. This will allow you to reposition the lash and align it more accurately. Be sure to handle the lashes delicately to prevent any damage or tearing.

Repositioning the Inner Corner
If you notice that the inner corner of your false eyelashes is not aligned properly, you can adjust it by gently lifting the lash band with your tweezers or fingertips and moving it towards the center of your eye. Take your time to ensure that the lash is in the desired position and appears seamless with your natural lashes. This step is crucial for achieving a symmetrical and natural-looking result.
Repositioning the Outer Corner
Similarly, if the outer corner of your false eyelashes needs repositioning, carefully lift the lash band with your tweezers or fingertips and move it towards the outer edge of your eye. This will help create a more lifted and elongated appearance, enhancing the overall shape of your eyes. Pay attention to the angle at which the lashes sit, as this can significantly affect the final look.

Repositioning the Middle Section
In some cases, the middle section of your false eyelashes may require adjustments for a more seamless blend with your natural lashes. To reposition the middle section, gently lift the lash band with your tweezers or fingertips and move it either upwards or downwards. Experiment with different positions to find the most flattering alignment. Remember, practice makes perfect, so don’t be afraid to try different techniques until you achieve the desired effect.
Dealing with Lashes that Lift
Occasionally, false eyelashes may lift or detach from the lash line, causing them to become misaligned. If this happens, don’t panic! Simply apply a small amount of lash adhesive directly to the lash band and press it firmly against your natural lashes. Hold it in place for a few seconds to allow the adhesive to dry and secure the false lashes back into position. This quick fix can save you from having to completely readjust your lashes.

Adding More Glue
If you find that your false eyelashes are continuously shifting out of place, it may be helpful to add a little more glue. Carefully remove the lash by gently peeling it away from your natural lashes, making sure not to damage the lash band. Then, apply a small amount of adhesive evenly along the lash band and wait for a few seconds until it becomes tacky. Finally, reapply the lash and hold it in place to allow the glue to fully dry. This extra glue can provide better adhesion and keep your false eyelashes secure throughout the day.
Removing and Reapplying
In some cases, you may need to remove your false eyelashes and reapply them to achieve the desired position. If this is necessary, gently peel off the lash from the outer corner, using either tweezers or your fingers. Be careful not to tug or pull forcefully to avoid damaging your natural lashes. Once the lash is removed, clean off any excess glue and place it back onto your lash line, following the initial application technique. Take your time to ensure that the lash is aligned correctly and securely adhered to your natural lashes.

Trimming the Lashes
If your false eyelashes are too long or extend beyond the length of your natural lashes, you may need to trim them for a more natural look. Start by measuring the lash against your eye and marking the desired length. Then, use a pair of small, sharp scissors to carefully trim the excess length from the outer corner of the lash band. Remember to trim a little at a time and check the length after each cut to avoid cutting too much off. Once you’ve achieved the desired length, reapply the lash according to the previous steps.
Using a Lash Curler
To enhance the appearance of your false eyelashes and create a more dramatic effect, you can use a lash curler. After applying your false lashes and allowing the adhesive to fully dry, gently clamp the lash curler at the base of your lashes and hold it for a few seconds. This will help blend your natural lashes with the false lashes and give them a beautiful upward curl. Be cautious not to squeeze too hard to avoid damaging the lashes or pulling them out.
Adjusting false eyelashes may seem intimidating at first, but with practice and patience, you can achieve a flawless and comfortable fit. By following these step-by-step instructions and helpful tips, you’ll be able to align your false eyelashes like a pro and create a stunning eye look that turns heads. Remember to be gentle with the lashes, take your time, and experiment with different techniques until you find what works best for you. Happy adjusting!

