If you’re looking to enhance your lashes and achieve a wispy and glamorous look, then look no further! In this article, you’ll discover a range of techniques that you can easily master to create that desired wispy lash effect with the help of falsies. Whether you’re a lash beginner or an experienced pro, these tried and tested methods will have you batting those beautiful wispy lashes in no time. So grab your favorite pair of falsies and get ready to transform your lashes into fluttery works of art!
Choosing the Right Falsies for a Wispy Lash Look
When it comes to achieving a wispy lash look with falsies, selecting the right pair is crucial. Start by considering the length and curl of the falsies. Longer lashes tend to give a more dramatic effect, while shorter ones offer a subtler look. Think about your desired level of intensity and the occasion you’ll be wearing them for.
In addition to length, consider the curl of the falsies as well. The curl determines how lifted and fluttery your lashes will appear. Opt for lashes with a natural curl if you want a more subtle effect, or choose a more dramatic curl if you’re aiming for extra volume.
Opting for Individual or Cluster Lashes
Another decision to make is whether to go for individual or cluster lashes. Individual lashes consist of separate strands that you apply one by one, offering a customizable and natural-looking result. Cluster lashes, on the other hand, come in small clusters with multiple lashes per cluster, creating a fuller appearance.
Both options have their benefits, so consider the look you want to achieve and your level of comfort with application. If you prefer precision and control over each lash, individual lashes are a great choice. But if you’re looking for a quicker and easier application with a fuller look, cluster lashes might be the way to go.

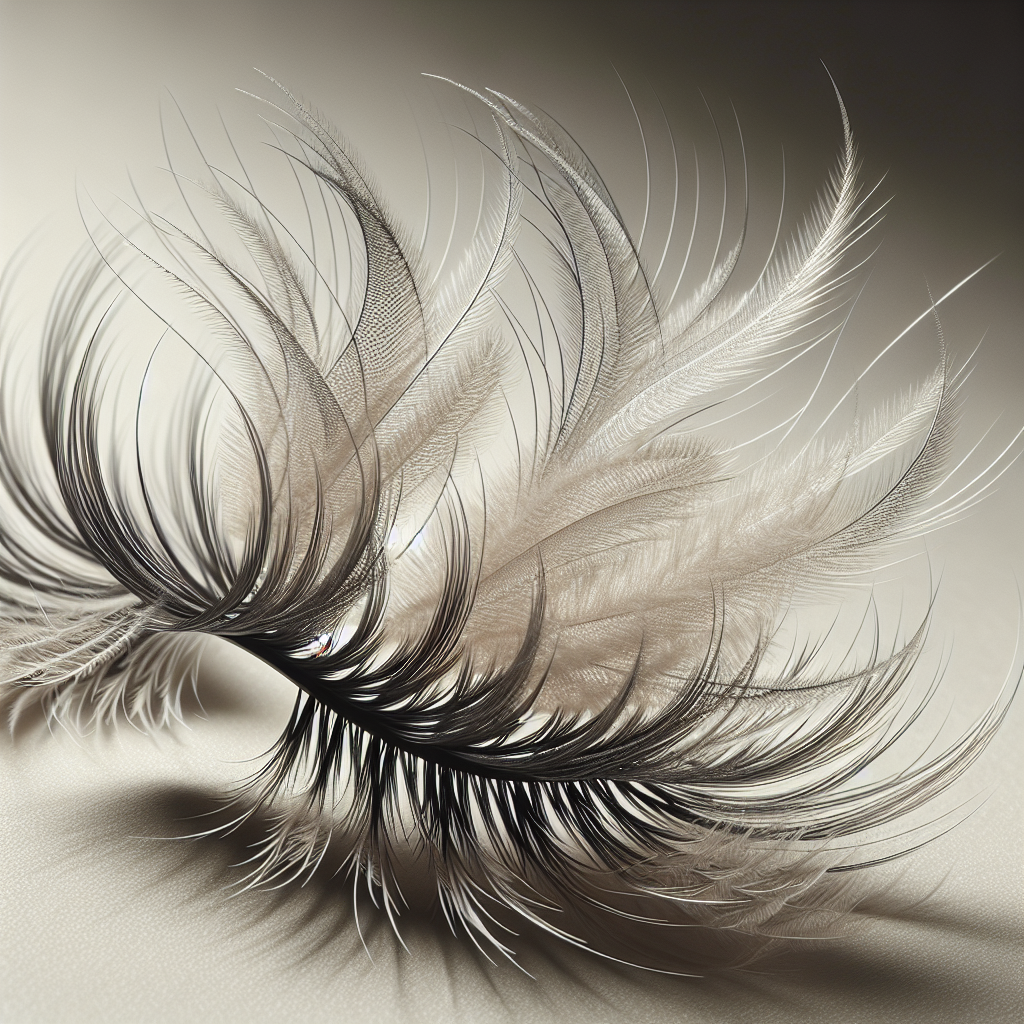
Choosing Falsies with Wispy Ends
The wispy lash look is all about delicately scattered lashes with feathery, lightweight ends. To achieve this effect, opt for falsies with wispy ends. These lashes have tapered tips that mimic the appearance of natural lashes, blending seamlessly with your own. The wispy ends create a soft, fluttery effect that enhances the overall wispy look.
Look for falsies labeled as “feathery,” “fluttery,” or “wispy” to ensure you’re selecting the right ones for achieving that effortlessly glamorous lash style.
Preparing Your Natural Lashes
Before applying falsies, it’s important to prepare your natural lashes to create an ideal base for the false ones. Start by curling your natural lashes using a lash curler. This will help lift and open up your eyes, making them appear larger and more awake.
After you’ve curled your lashes, apply a coat of mascara to add some extra length and volume. Mascara acts as a base layer, blending your natural lashes with the falsies and providing a stronger hold for the adhesive.
Before moving on to applying the false lashes, make sure to trim them to fit your lash line properly. Measure the falsies against your natural lash line, and if they’re too long, trim off any excess from the outer edge. Trimming them will ensure a comfortable fit and prevent them from poking into your inner corner or irritating your eyes.

Applying Adhesive Correctly
Properly applying adhesive is key to achieving a long-lasting and natural-looking wispy lash look. Selecting the right type of adhesive is essential. Opt for a high-quality lash adhesive that is clear and dries quickly. It’s important to avoid colored or thick adhesive, as it can create an unnatural appearance and make the falsies stand out.
To apply the adhesive, start by applying a thin strip directly onto the lash band of the falsies. Use a small brush or an adhesive applicator to ensure an even and precise application. Remember, a little goes a long way, so don’t overdo it with the adhesive.
Once you’ve applied the adhesive, let it sit for a moment to become tacky. This will help the falsies adhere better to your lash line and prevent them from sliding or lifting throughout the day. The tackiness allows for a stronger bond between your natural lashes and the falsies, ensuring a secure and seamless application.
Placing the Falsies for the Wispy Look
When placing the falsies, start from the outer corner of your eye and carefully press them onto your lash line. The outer corner tends to be the strongest point of the false lashes, so starting there ensures a secure and long-lasting hold.
To achieve a wispy effect, leave small gaps between each falsie as you work your way towards the inner corner. This will create a more natural and fluttery appearance, mimicking the look of naturally occurring lashes.
If you’re looking for extra volume, consider stacking multiple layers of falsies on top of each other. This technique adds dimension and fullness to your lash line, enhancing the wispy effect. Just make sure to apply each layer carefully, focusing on the outer corner and leaving gaps between the lashes in each layer.

Blending the Falsies with Your Natural Lashes
To seamlessly blend the falsies with your natural lashes, gently press them against your lash line using your fingertips or a lash applicator. This step ensures a smooth transition between your natural lashes and the falsies, creating a seamless and natural appearance.
After pressing the falsies in place, use a lash curler to curl both your natural lashes and the false ones together. This step helps to further blend the two and create a cohesive look. Carefully curl from the base to the tips, holding for a few seconds at each section.
To finish off the blending process, apply another coat of mascara. This will fuse your natural lashes with the false ones, making them appear more cohesive and voluminous. Apply the mascara in gentle upward strokes from the base to the tips, ensuring an even distribution.
Creating a Wispy Effect with Mascara
Even if you’ve selected wispy falsies, you can enhance the effect even further with mascara. Choose a lightweight and lengthening mascara that won’t weigh down your lashes or clump them together. Look for formulas that provide separation and definition for a fluttery and wispy appearance.
To create the wispy effect, use a spoolie brush to comb through your lashes after applying mascara. This helps separate and define each lash, giving them a feathery appearance. Gently brush through the lashes from root to tip, focusing on lifting and spreading out the individual hairs.
To maintain a natural look, apply mascara primarily to the tips of your lashes. This technique adds length and definition to the ends, making them appear wispy and fluttery. Avoid applying mascara to the roots or base of the lashes, as this can create a heavier and more clumpy look.
Adding Individual Wisps
For an even more natural and customized wispy look, you can incorporate individual lashes in strategic areas. Start by applying individual lashes on the outer corners of your eyes. These lashes help create extra length and volume where it’s needed the most, enhancing the wispy effect.
In addition to individual lashes, you can also use wispy clusters to add natural variation to your lash line. These clusters consist of multiple lashes per cluster and can be strategically placed in areas that require more volume or fullness. Be sure to space them out to maintain the wispy appearance and avoid overcrowding.
To further enhance the wispy effect, consider using eyeliner to feather in baby lashes. Gently dot a brown or black eyeliner in between your natural lashes, creating the illusion of additional fine hairs. This technique adds depth and dimension to your lash line, making it look naturally wispy and fluttery.
Enhancing the Wispy Effect with Eyeshadow
To complete your wispy lash look, don’t forget to enhance your eye makeup with complementary eyeshadow shades. Start by applying a light transition shade in your crease to create depth and dimension. This shade serves as a subtle base for the darker eyeshadows and helps blend them seamlessly.
Next, add depth to your eye makeup by applying a darker eyeshadow shade on the outer corner and into the crease. Use a fluffy brush to blend the shade, ensuring a soft and seamless transition between the colors. This step adds intensity and drama to your overall eye look, complementing the wispy lashes.
To make your lid pop, apply shimmery eyeshadows in the center and inner corners of your eyelids. The shimmer adds a touch of sparkle and brightness to your eyes, drawing attention to your wispy lashes. Opt for shades that complement your eye color and enhance the overall effect you’re going for.
Setting and Locking the Wispy Lash Look
To ensure your wispy lash look lasts all day or night, take the necessary steps to set and lock it in place. First, use a clear or waterproof mascara as a topcoat over your falsies and natural lashes. This adds an extra layer of protection and extends the longevity of your lash look.
Additionally, consider applying a setting spray over your entire face, including your lashes. This helps to set the makeup and prevents any smudging, transferring, or budging throughout the day. Be sure to hold the setting spray at arm’s length and mist it evenly across your face for optimal results.
Keep in mind that oil-based makeup removers can break down the adhesive used for falsies. To ensure a gentle removal process, avoid using oil-based removers. Instead, opt for a non-oily makeup remover or micellar water to dissolve the adhesive effectively without damaging your natural lashes.
Removing Falsies Gently and Properly
When it’s time to remove your falsies, it’s important to do so gently and properly to avoid any damage. Start by soaking a cotton pad with a gentle makeup remover. Place the pad over your closed eyelid and gently press it against your lashes for a few seconds. This helps dissolve the adhesive and makes the removal process smoother.
Once the adhesive has loosened, gently pull off the falsies from the outer corner towards the inner corner. Avoid pulling too forcefully, as this can potentially cause your natural lashes to come off or irritate your eyelids. If you encounter any resistance, apply a bit more makeup remover and wait for it to further dissolve the adhesive.
After successfully removing the falsies, ensure that you cleanse your lashes and eyelids thoroughly to remove any remaining adhesive residue and makeup. Use a gentle cleanser or micellar water to cleanse the area, being cautious not to rub or tug at your lashes.
By following these techniques and tips, you can achieve a stunning wispy lash look with falsies. Whether you’re aiming for a subtle flutter or a bold and dramatic effect, the wispy lash look is versatile, feminine, and effortlessly glamorous. So go ahead and embrace your fluttery, wispy lashes with confidence!